
The easy way to measure for linked roller blinds
Welcome to our simple guide to measuring your windows or doors for your new linked roller blinds. You're going to love just how quick and easy it is to measure up, so let's go!
Before you get going
Designing your dream blinds
The fun starts with designing how your blinds will fit, so channel your inner stylist and get creative! This is about finding your dream look and getting custom blinds that fit and function perfectly.
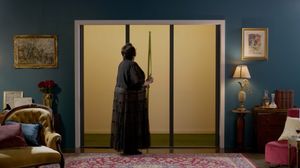
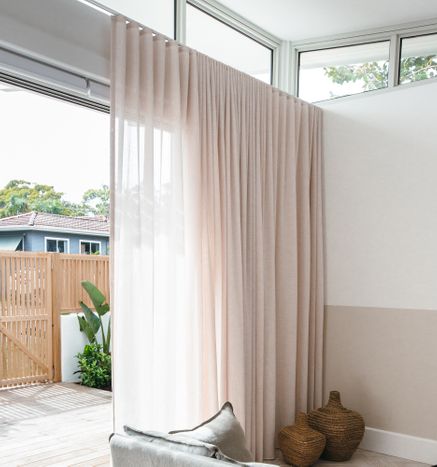
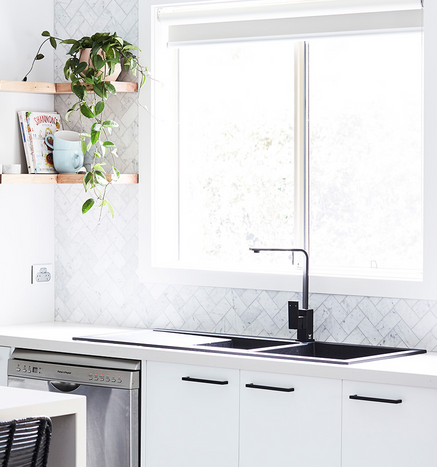
Blinds that sit outside the frame are called face fit
- linked blinds are fitted close together, minimising the gaps
- usually attached to the part of the window frame or door frame facing you
- ideal fit for bedrooms
- our customers often pick blockout fabrics
- don't let much light in down the far sides
- best fit to get around chunky obstructions
- back rolling blinds are recommended where possible
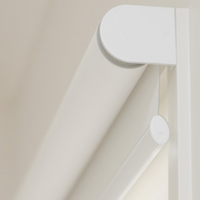
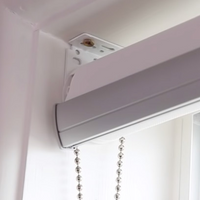
- match your chain, bracket and base rail colour to your blind fabric, or choose a contrasting colour to tie in with other features in your home
OK it's time to start measuring, let's take it step by step.
Measuring up is easy; we just need to know three things: your width and your drop measurements, and the width of each blind panel in your layout. Here's how to do it:
1 Measure your total width
Measure the exact outside width of your window or door frame across the top, and write it down. This measurement will be the total width span of your linked blinds, from end bracket to end bracket.

2 Measure your drop
Measure the height of your window or door frame from the top of the frame down to where you’d like the blind to finish, and write it down. This may be at the bottom of the frame, just above the floor, or to match up with other blinds in your room.

3 Measure your panels
Measure the exact width of each panel, starting from the left outside edge of your window or door frame to where the first panel ends, and write it down. Try to line up the panel with the midpoint of mullions. This will be your panel bracket to bracket width. Don't make deductions, we'll do it for you to get a perfect fit.
Repeat for each panel, working your way across your window or doors from left to right. The sum of all your panel widths, needs to be the same as your total width span.


Our hints and tips
Want to know our top tips for measuring up like a pro?
- Give us your measurements in millimetres (mm)
- Double check all of your measurements before you order
- Always write down 'width' and 'drop' next to your measurements, so you don't reverse them by accident!
- Label each panel you measure with left panel, middle panel, right panel, so you don't mix them up.
- Only give us the exact measurements we ask for. Our team custom makes your blinds to fit your windows and doors. They make standard deductions to account for your brackets, so you don't have to.
- Measure every window and door. The beauty of each house is that each window and door may have slight variations in size, and we want all your blinds to fit perfectly.
- We know every home is unique and we're just a phone call away if you need to chat- 1300 918 390
- For some extra help deciding on your perfect fit, you can email a photo of you windows or doors to our team: info@diyblinds.com.au
Layout guide
Choose the best layout for your space and check how many panels your total width span will allow. To pick the perfect drive option, think about access to your doors or windows, which side is easiest to reach and obstruction free and where the chain will be least visible.
Use the layout guide below.
-
 A
A
Dual control
Choose two panels and customise your widths. A drive on each side, blinds work independently.
-
 B
B
Left single control
Choose two panels and customise your widths. A drive on left side controls both blinds.
-
 C
C
Right single control
Choose two panels and customise your widths. A drive on right side controls both blinds.
-
 D
D
Dual control, left linked
Choose three panels and customise your widths. Left drive controls left and middle blinds, right drive controls right blind.
-
 E
E
Dual control, right linked
Choose three panels and customise your widths. Right drive controls right and middle blinds, left drive controls left blind.
-
 F
F
Left linked
Choose three panels and customise your widths. Left drive controls all three blinds.
-
 G
G
Right linked
Choose three panels and customise your widths. Right drive controls all three blinds.
-
 H
H
Dual control, dual linked
Choose four panels and customise your widths. A drive on each side controls two blinds.
Ready to install?

Have a question? We’re here to help
1300 918 390
Mon to Fri 8am - 6pm & Sat 10am - 3pm