How to Install Honeycomb Blinds
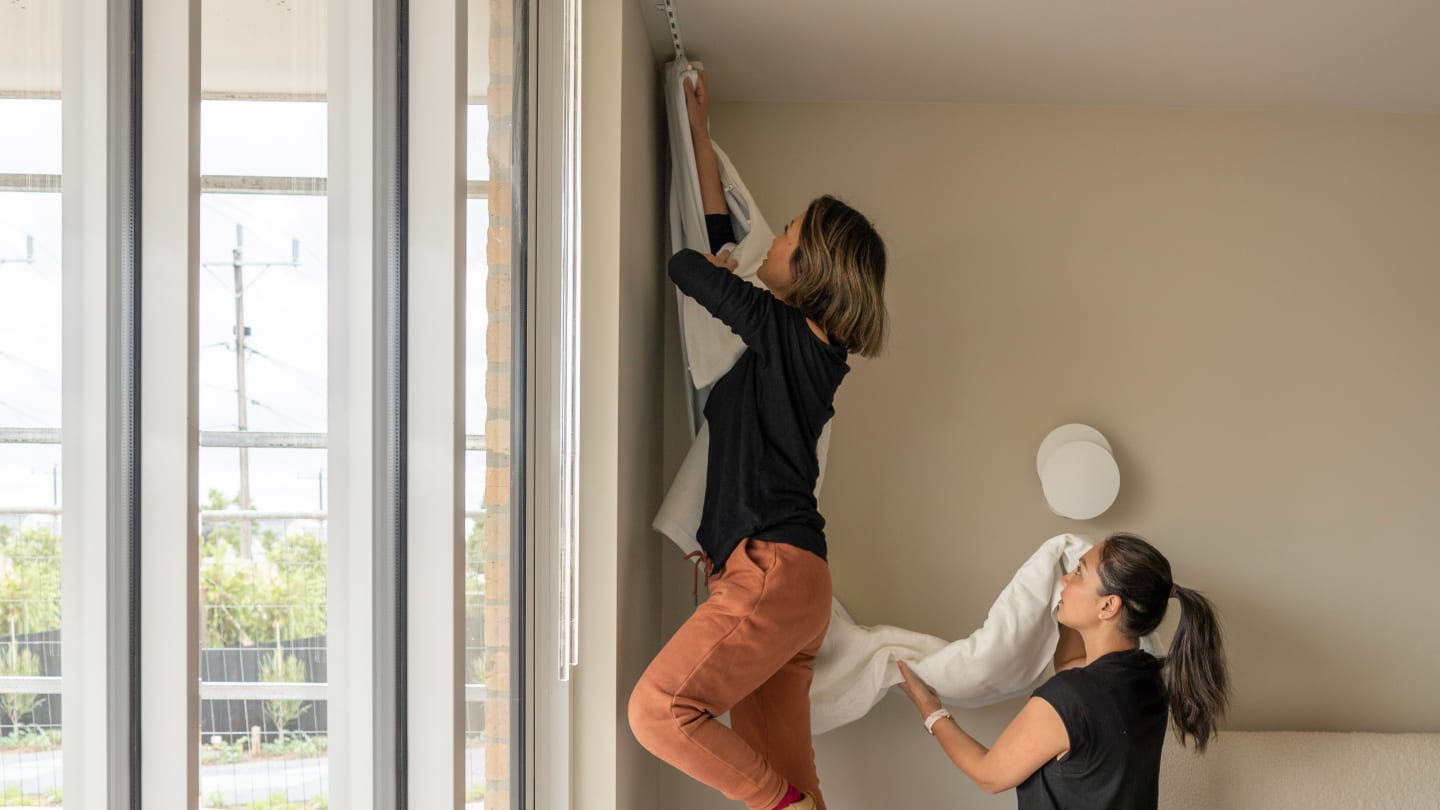
To install honeycomb blinds, first decide whether you’re face fitting onto the wall or architrave, or recess fitting inside the top of the window frame. Fix the end brackets 100mm in from each side, with no more than 800mm between brackets, and make sure the top of each bracket sits at your measured height. Hook the back of each bracket into the groove on the headrail, then lift the front and click it into place. Finish by screwing the cord cleat to the wall at least 1600mm above the floor. Most installs take 5–10 minutes with a drill and a 3mm bit.
What you’ll need to install

1-2 people

5-10 minutes
Tools
- A metal tape measure
- A pencil
- Step Ladder
- Drill with phillips head drill bit
- 3mm drill bit for pilot holes
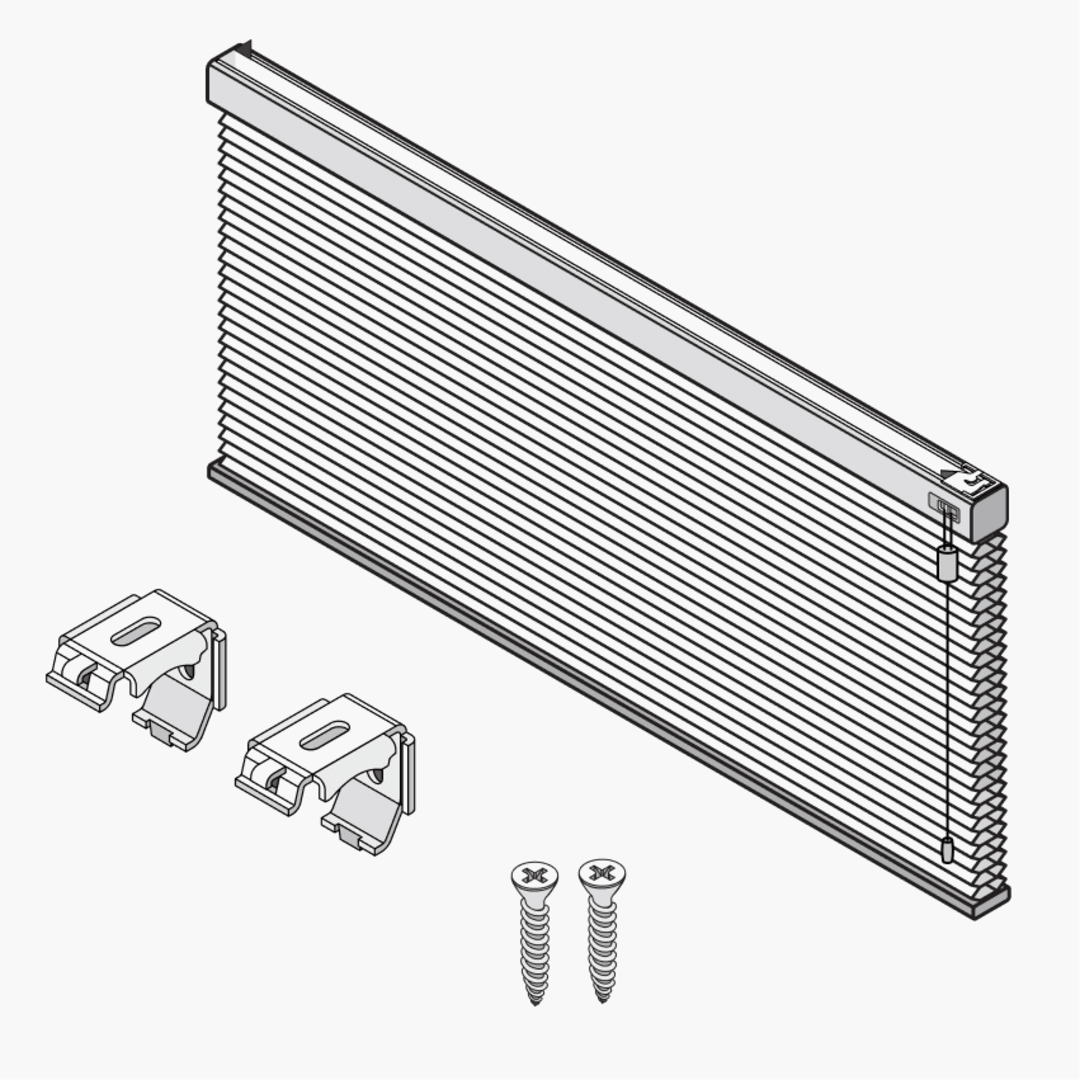
Your custom kit
A
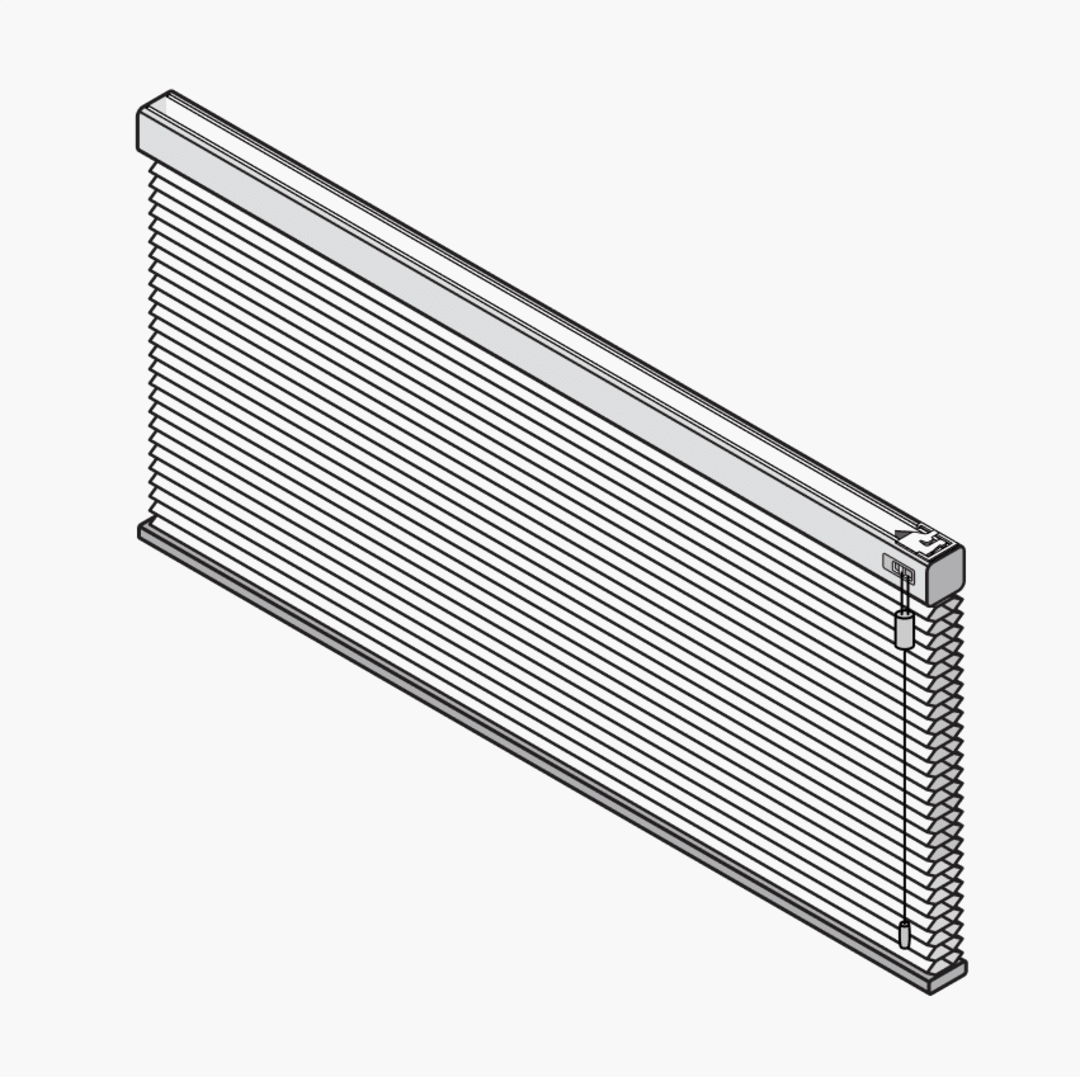
Honeycomb blind
B
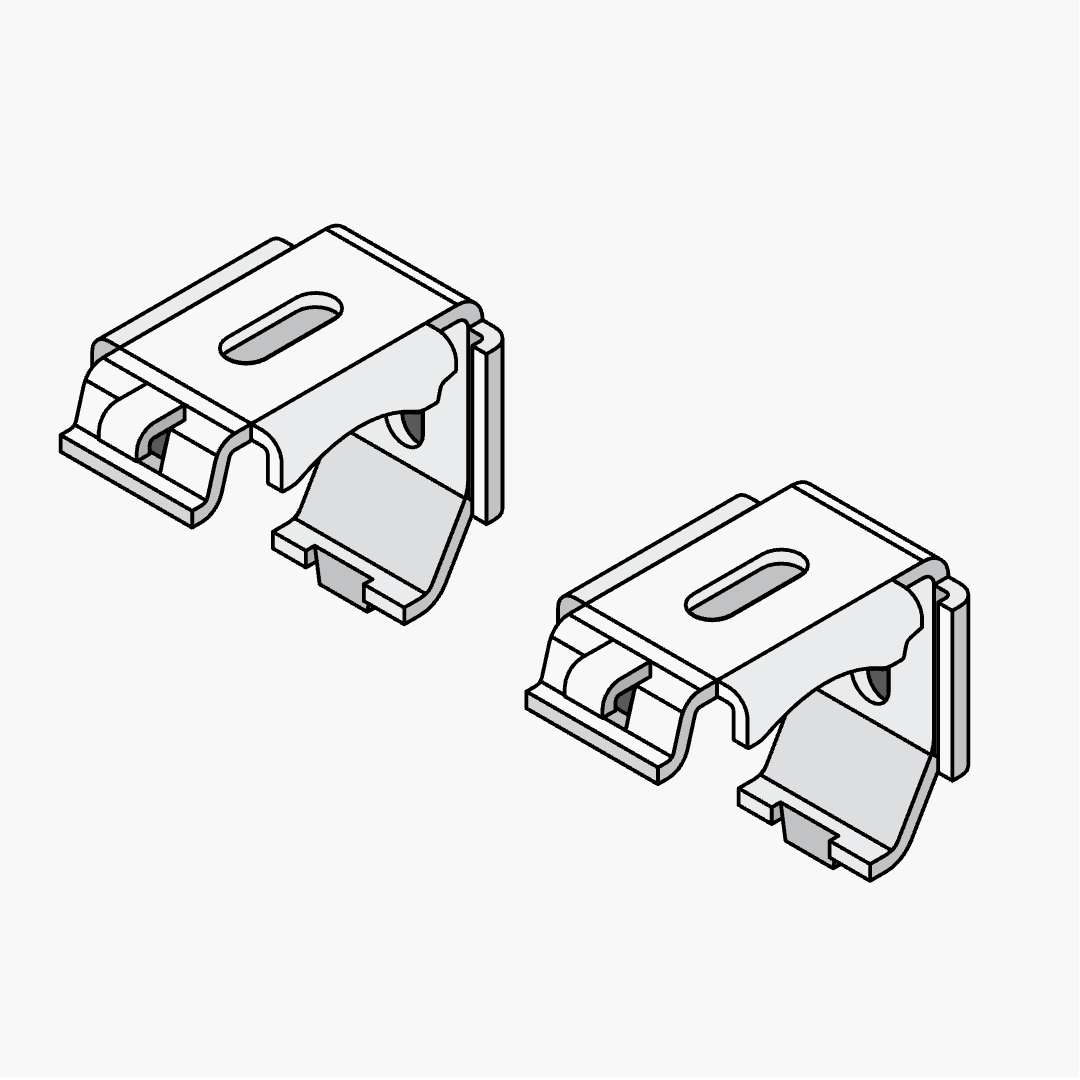
Brackets
C
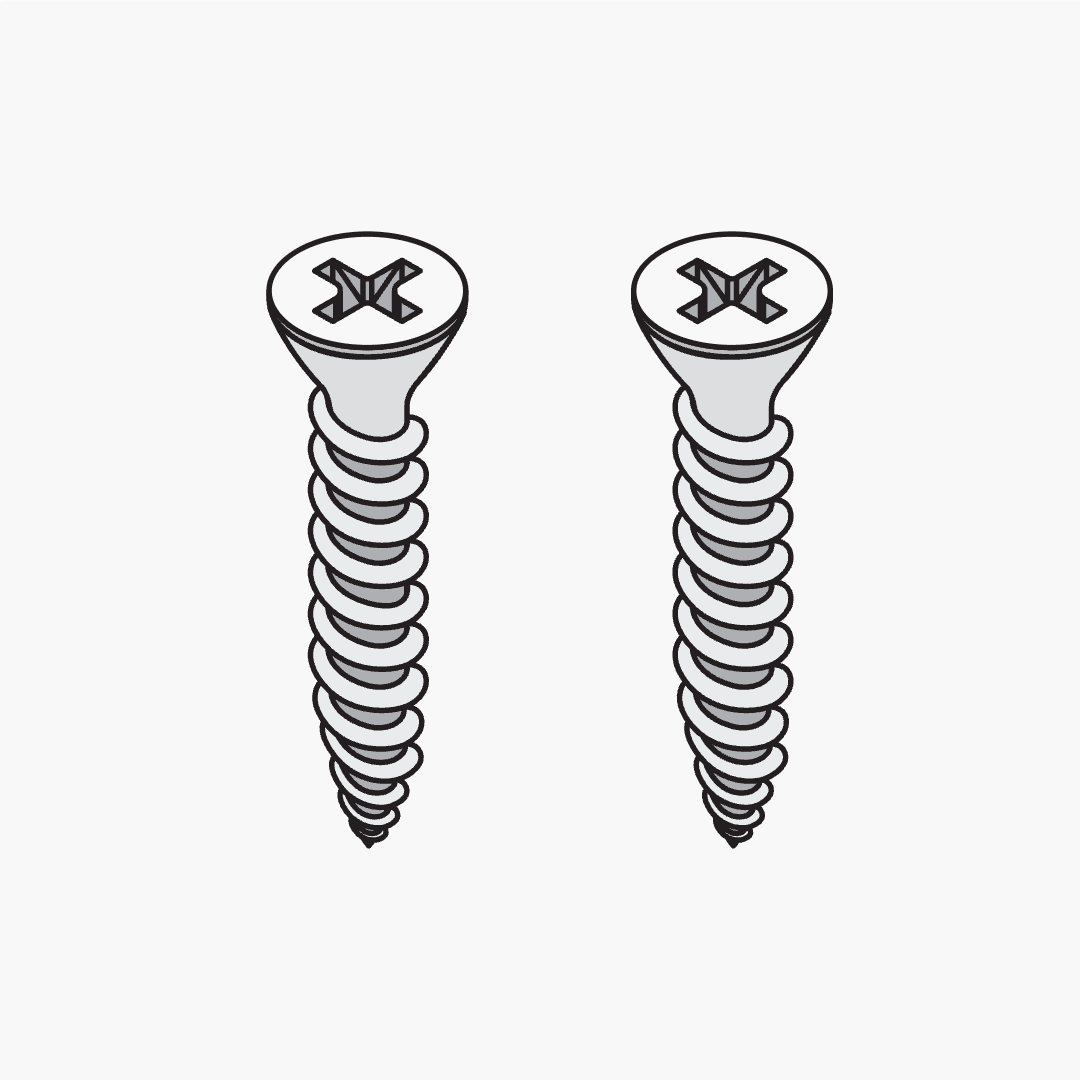
Screws
Bracket Supply List
Blind Size / Brackets Supplied
Before you get going
What are you mounting your blind to?
Pre-drill holes and use the provided screws
We recommend use of the Ramset 10mm Grip Hollow Wall Anchor
Use a Masonry drill and appropriate plugs, anchors or screws
Install steps:
The following installation steps apply to both Standard Bottom-Up and Top-Down/Bottom-Up blinds:
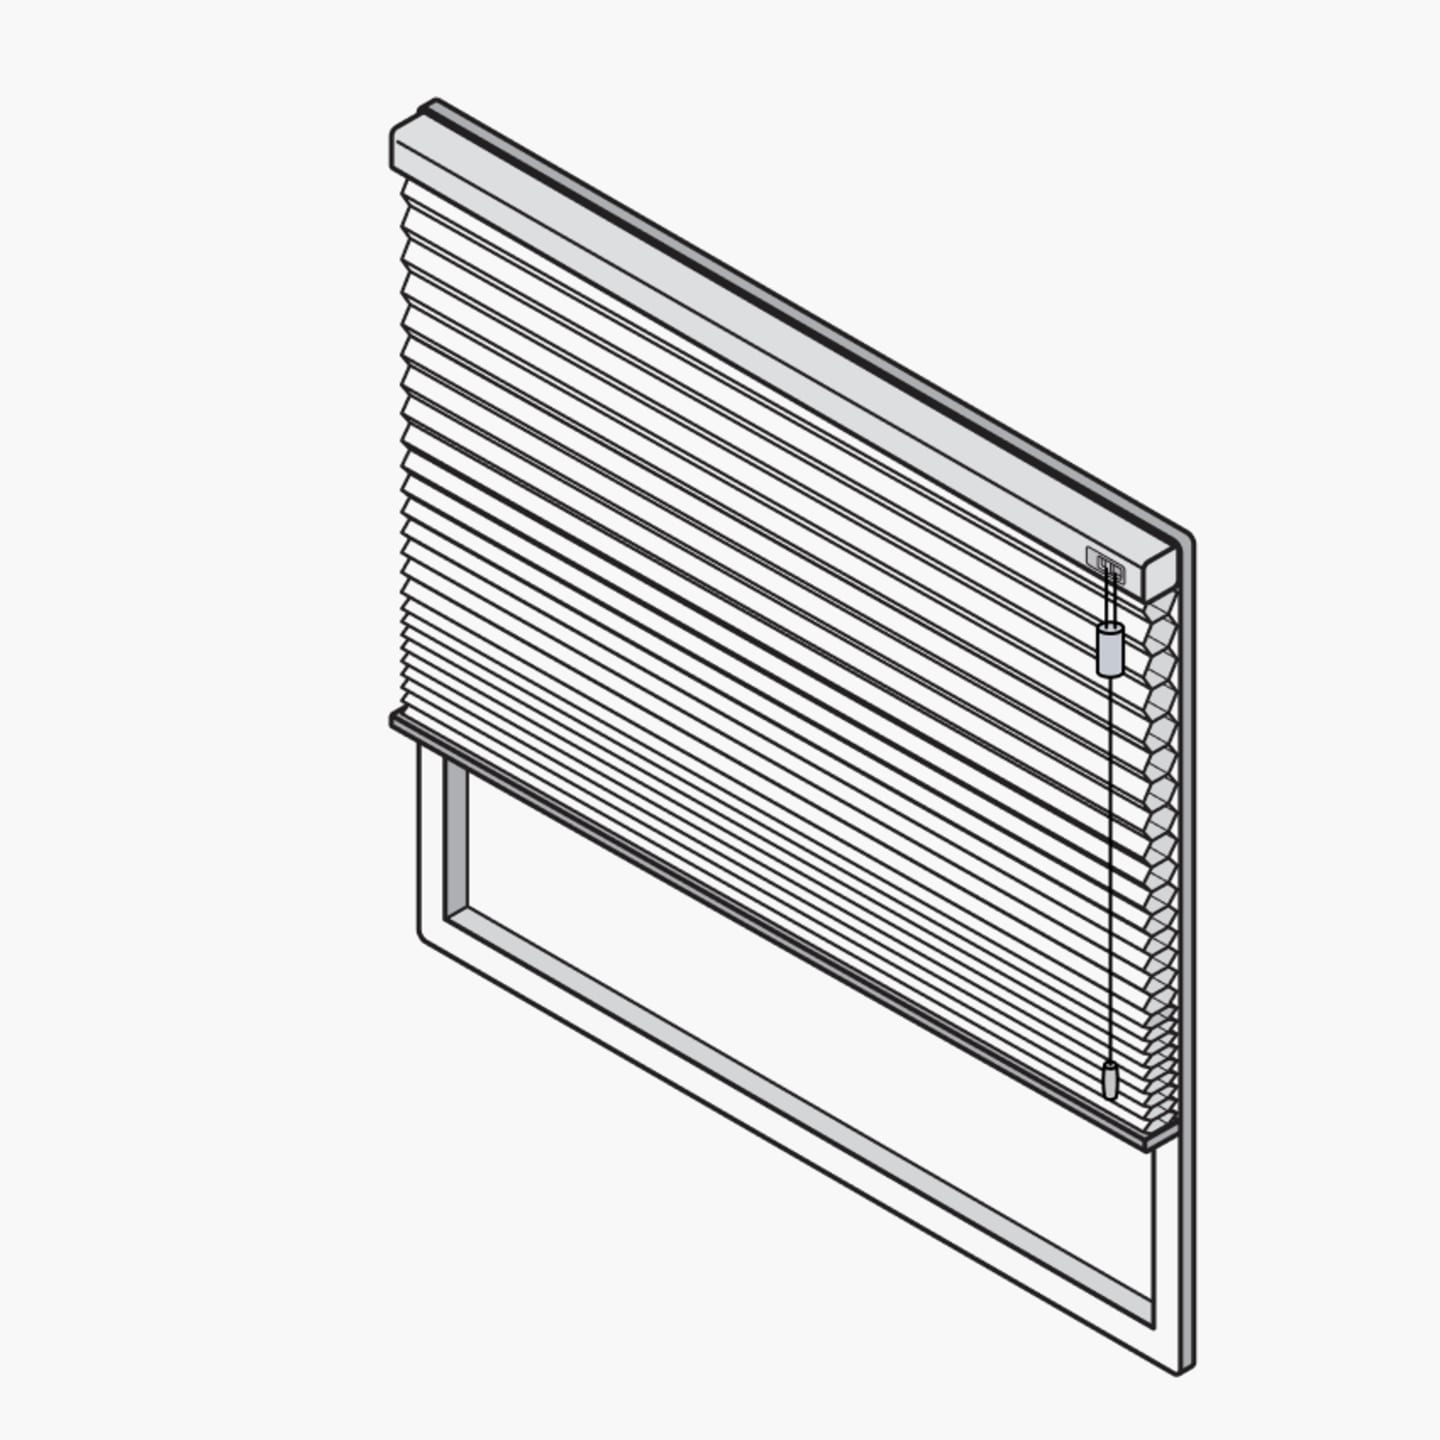
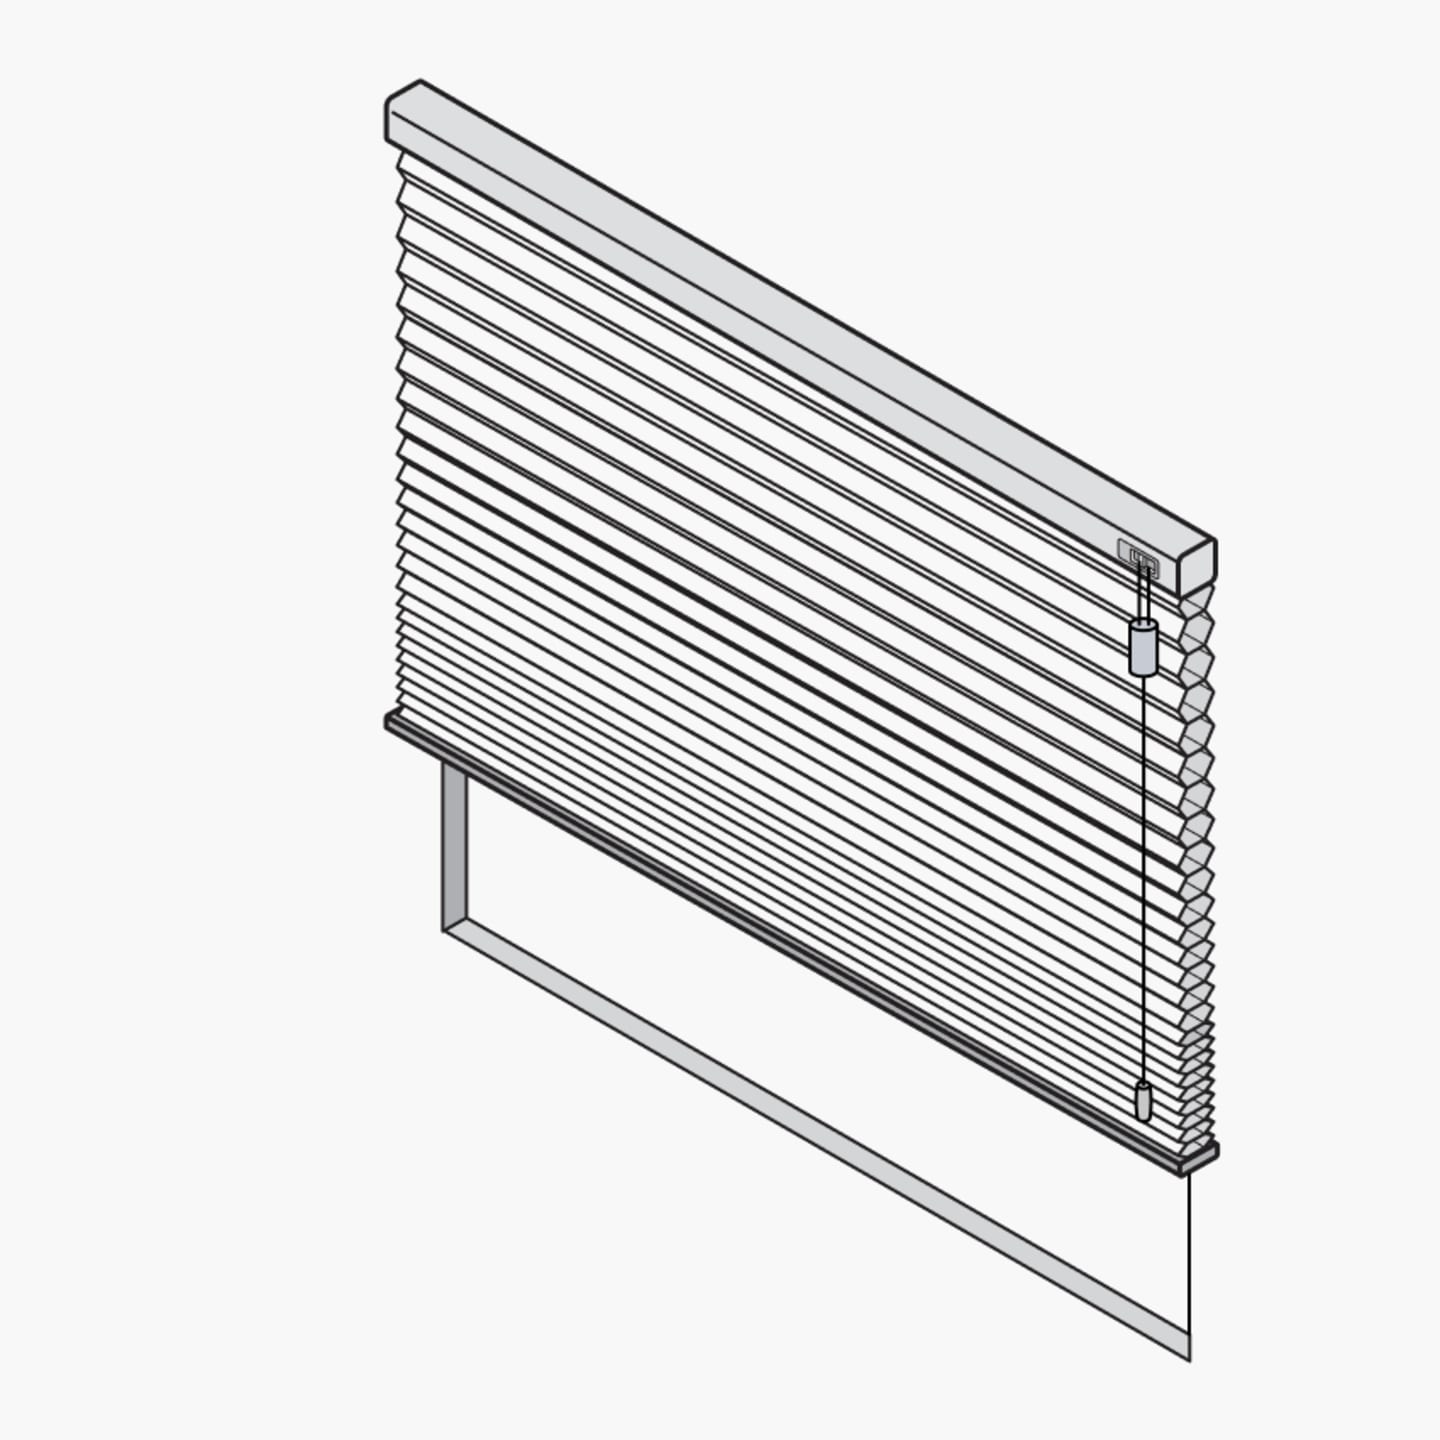
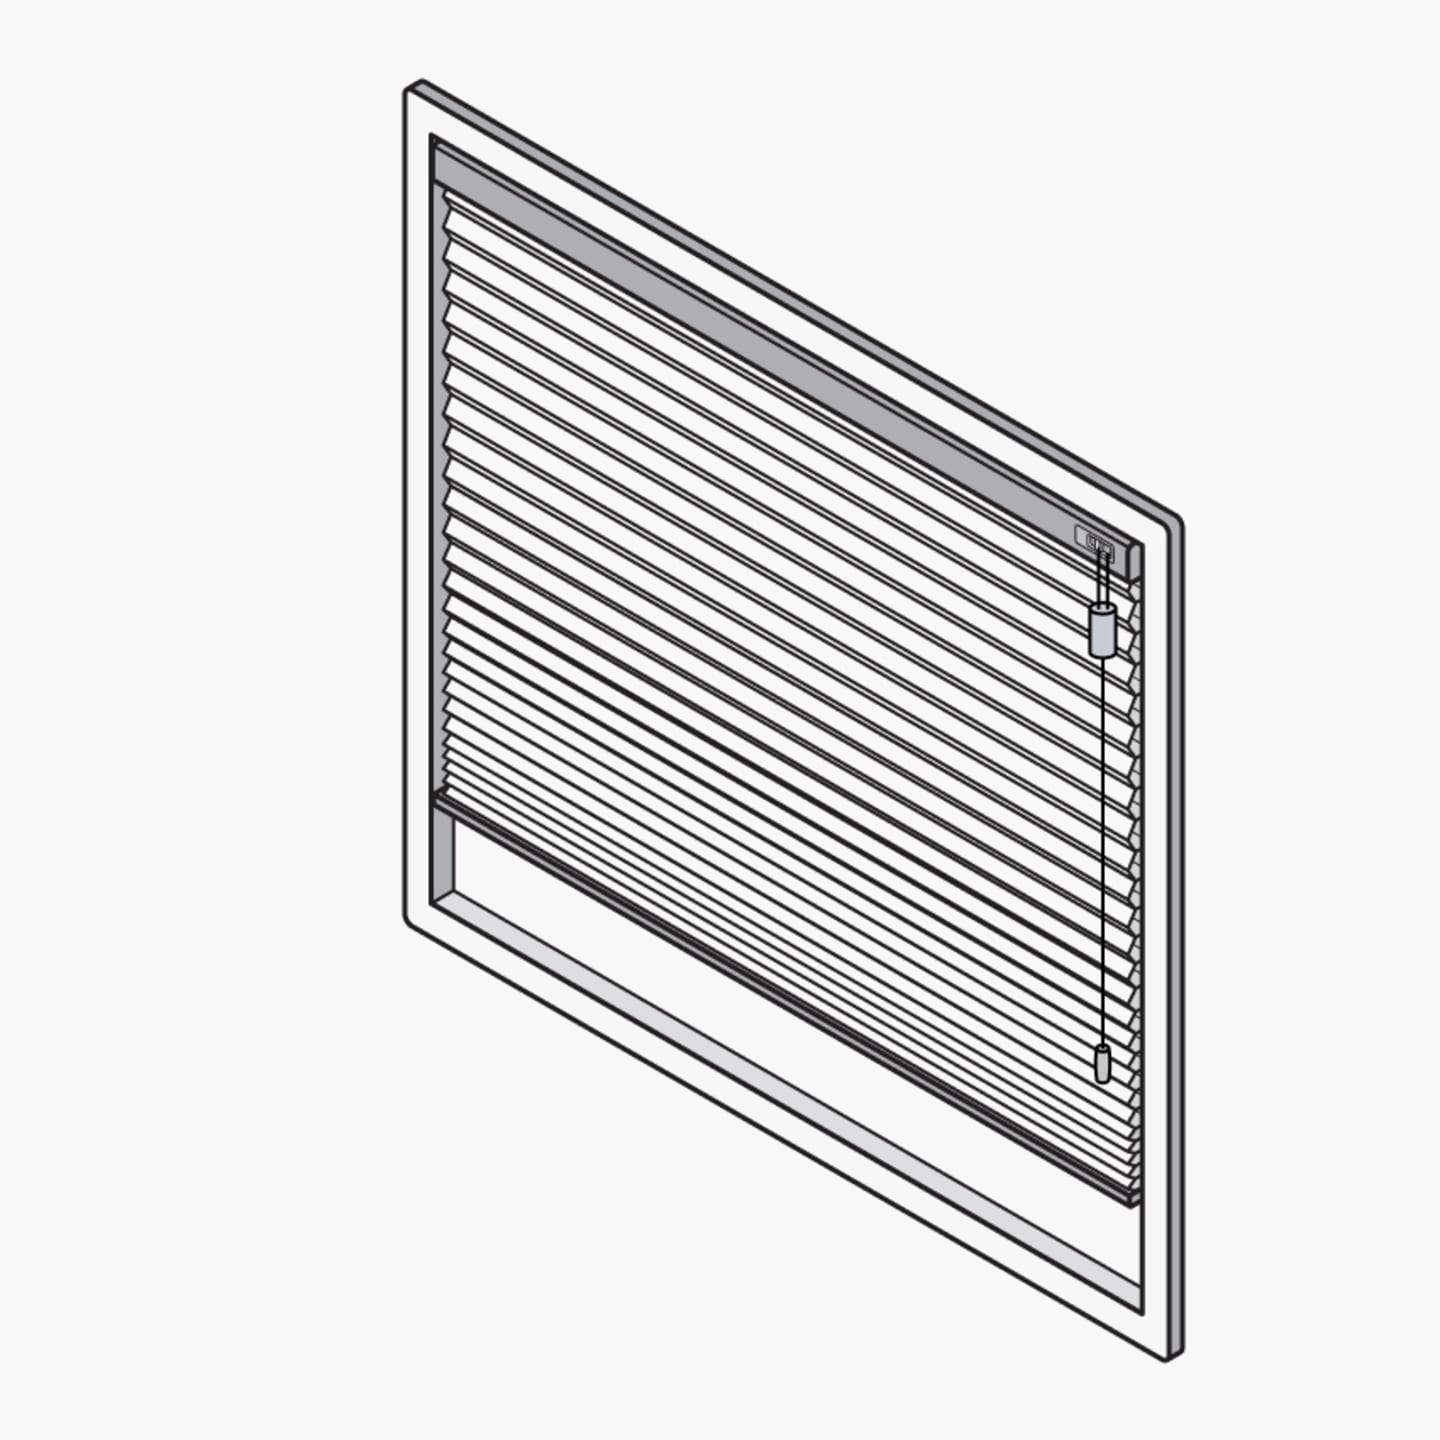
Get organised
Unpack your custom kit, and lay out your honeycomb blinds on a clean floor, under your window.
Installing your brackets
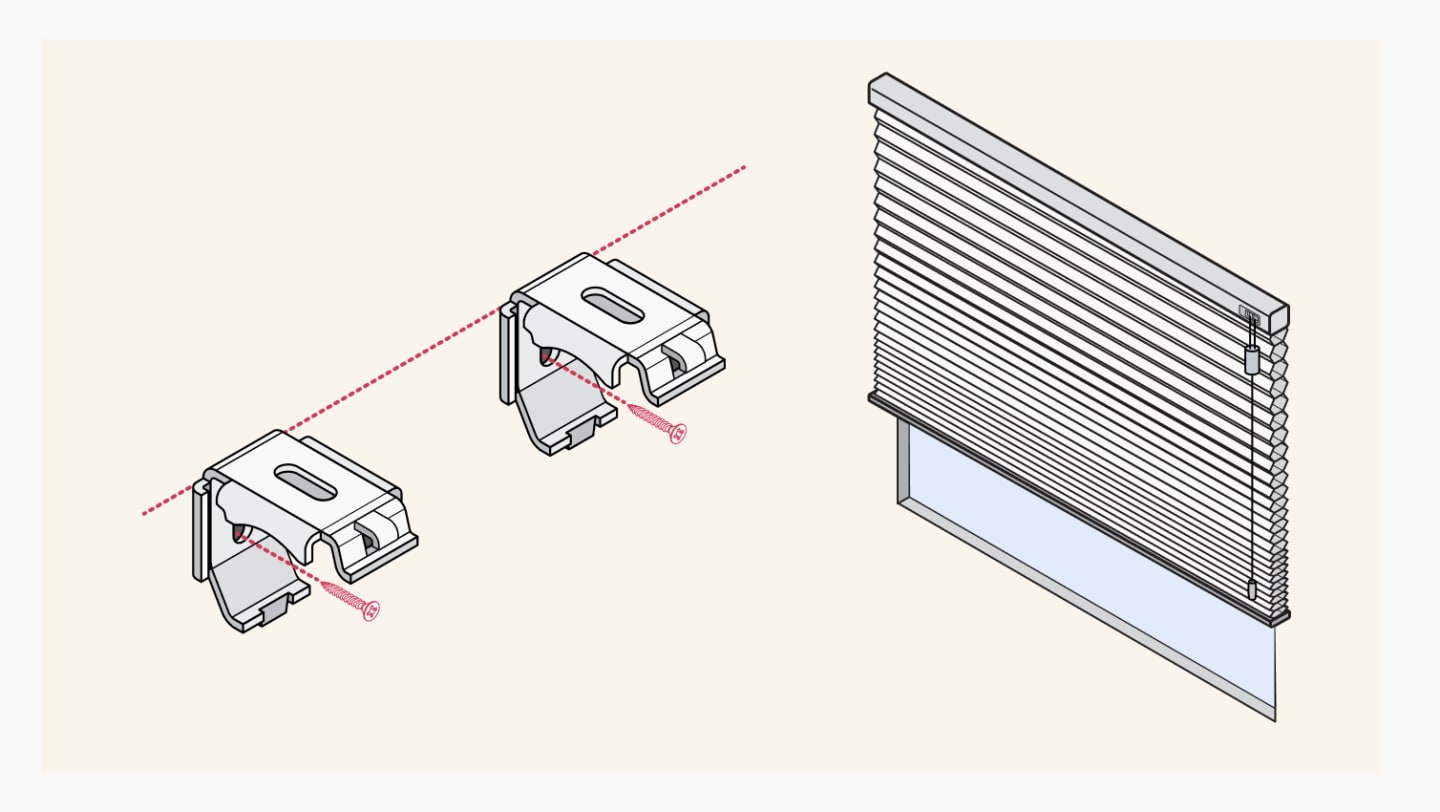
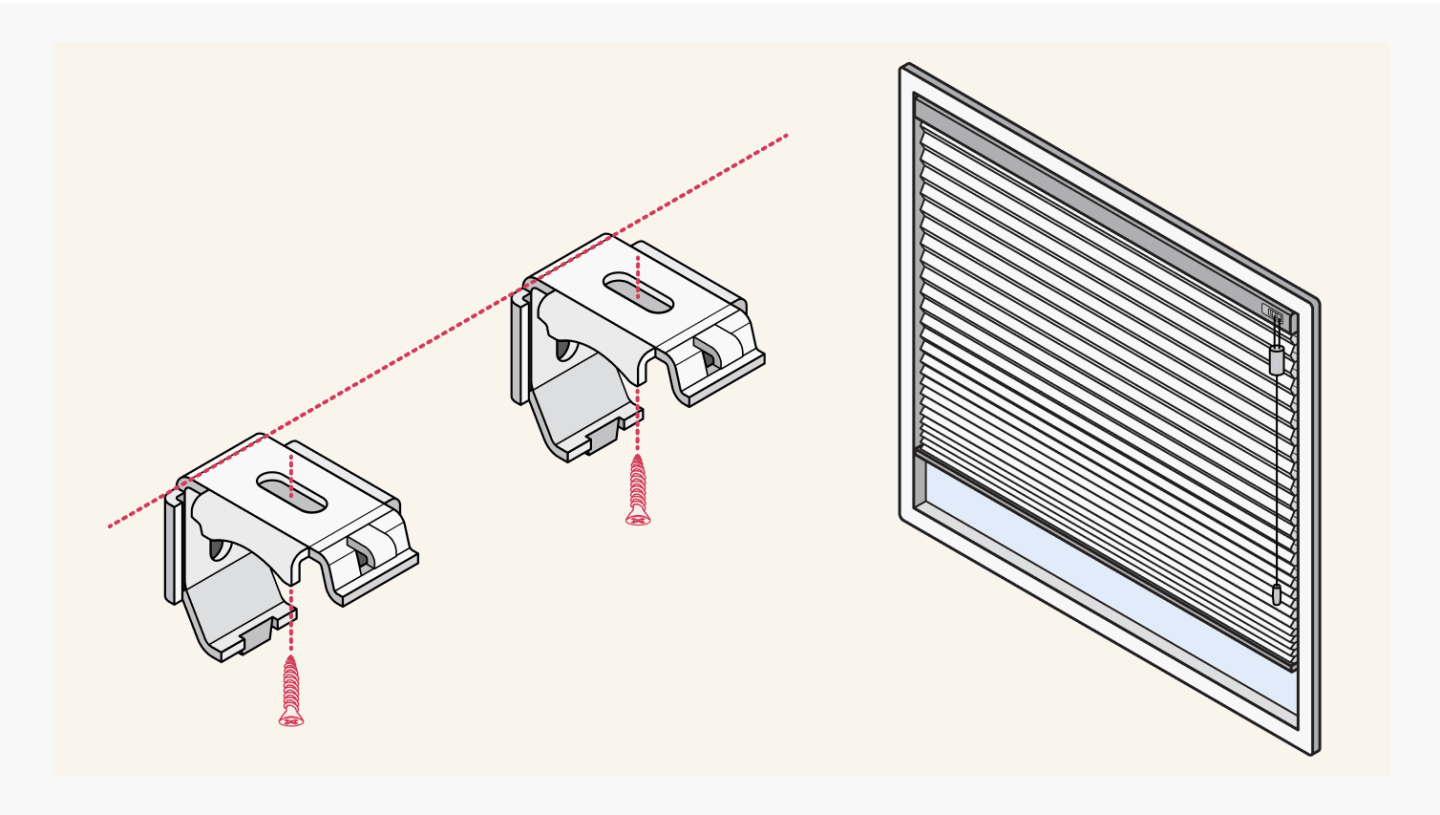
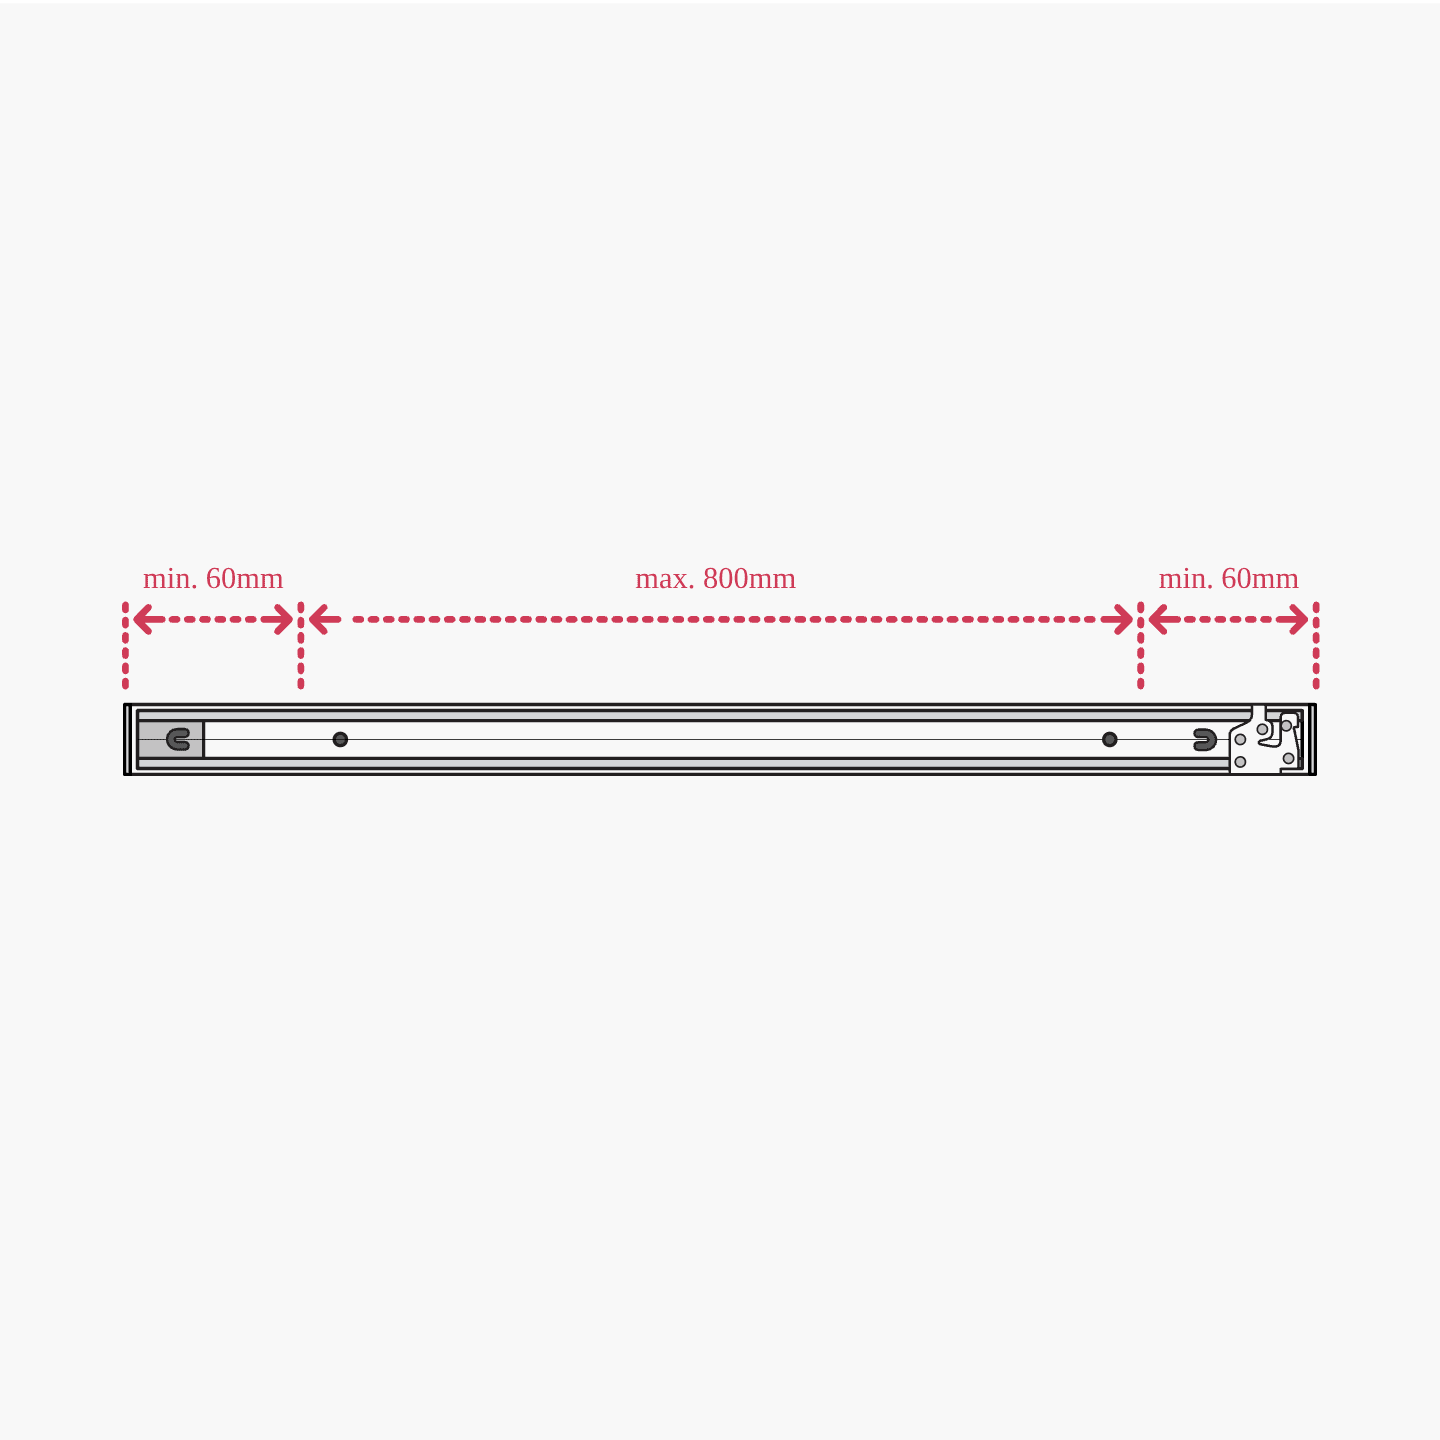
Position the end brackets 100mm in from the edge of the architrave and space any additional brackets evenly across the window. The maximum distance between brackets can not exceed 800mm. Mark the hole positions if required, then pre-drill two holes per bracket and secure them with screws.
Ensure the top of the bracket is installed at the exact height you measured for your order (this measurement refers to the top of the bracket, not the screw holes).
For face fit installations, fix the screws through the back plate of the bracket into the architrave or wall — not through the top of the bracket.


Position your honeycomb
Child safety
A
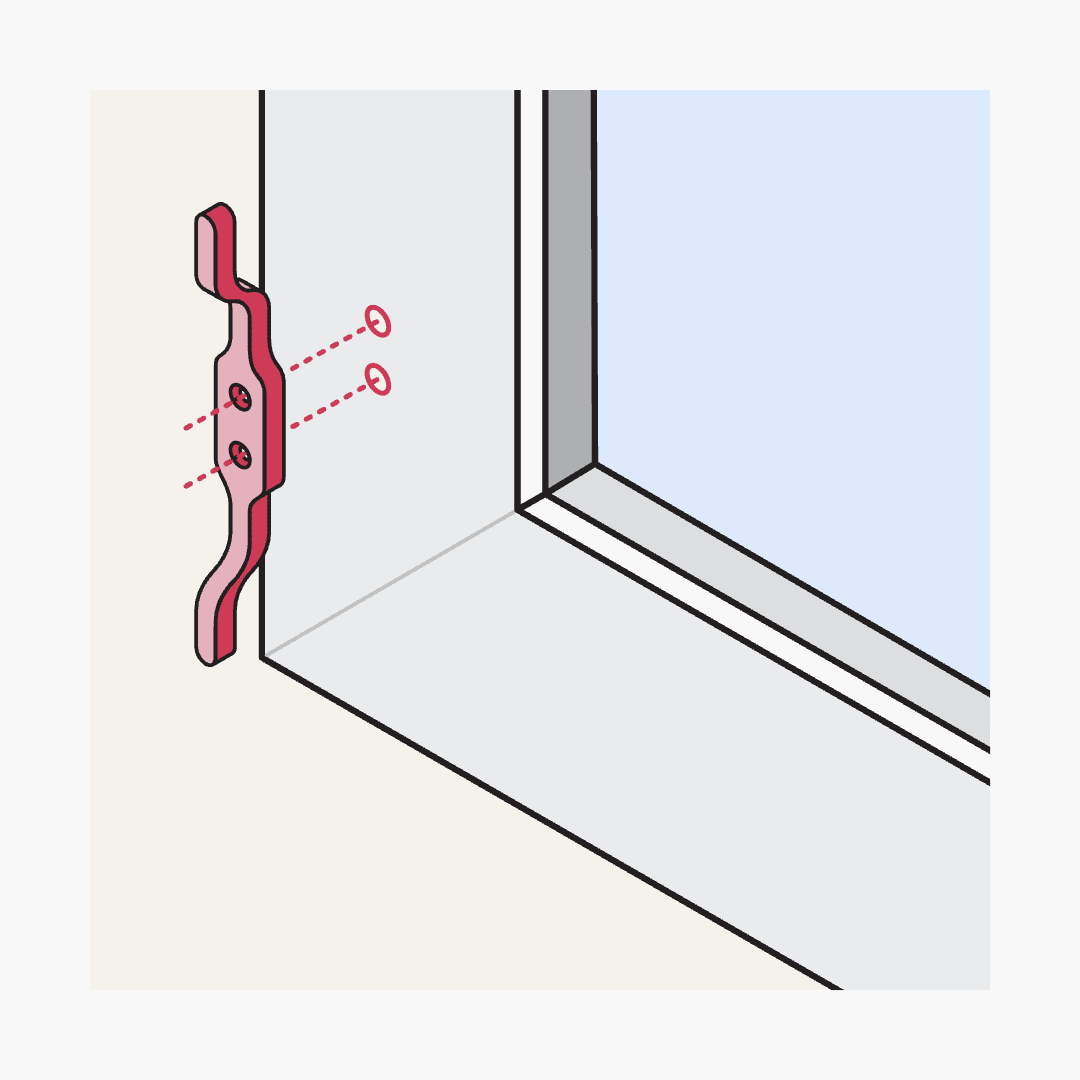
The cleats must be installed at least 1600mm above floor level, because a child is capable of unwinding a cord from a cleat.
B
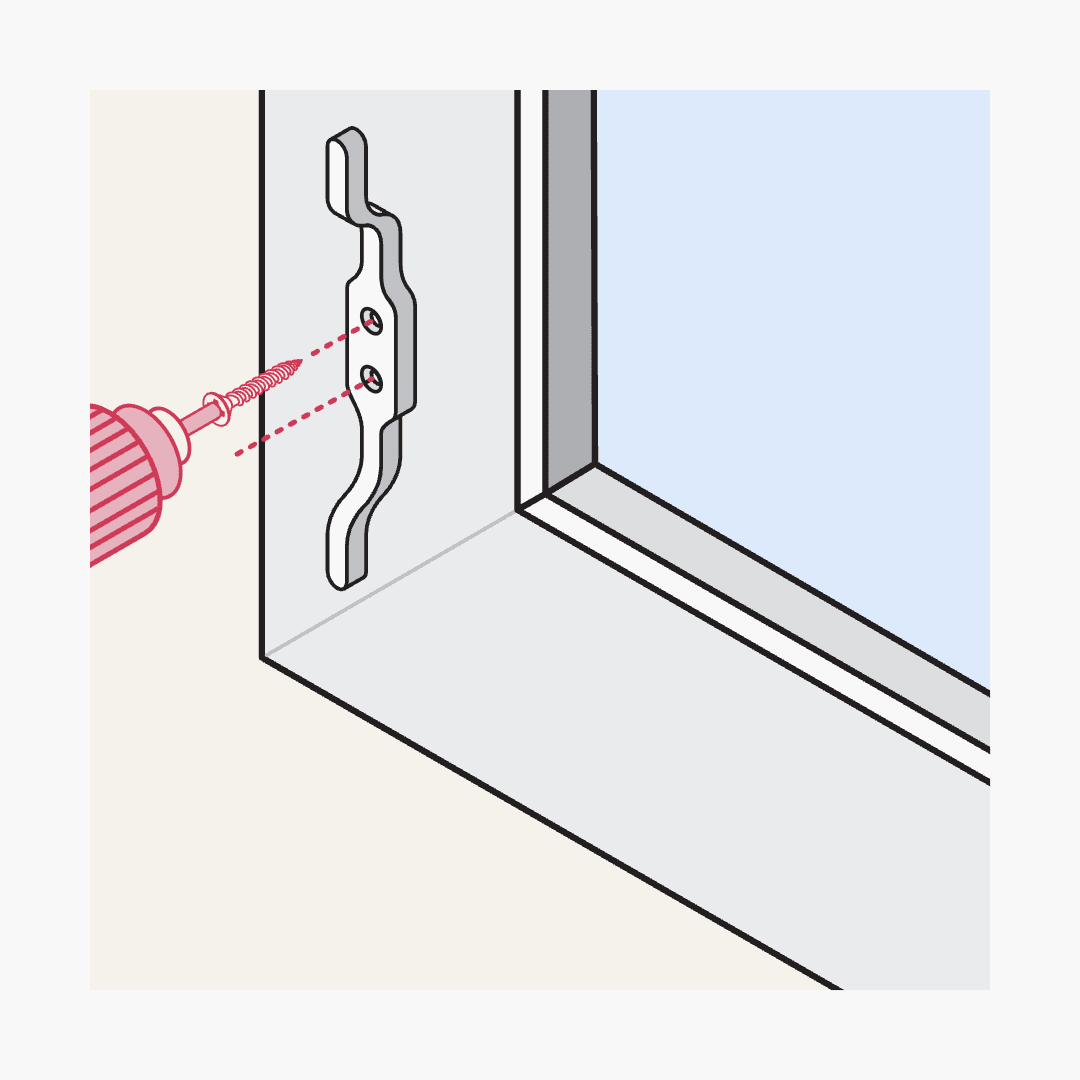
Fasten the cleats to the wall using the screws provided. Do not use tape or glue.
C
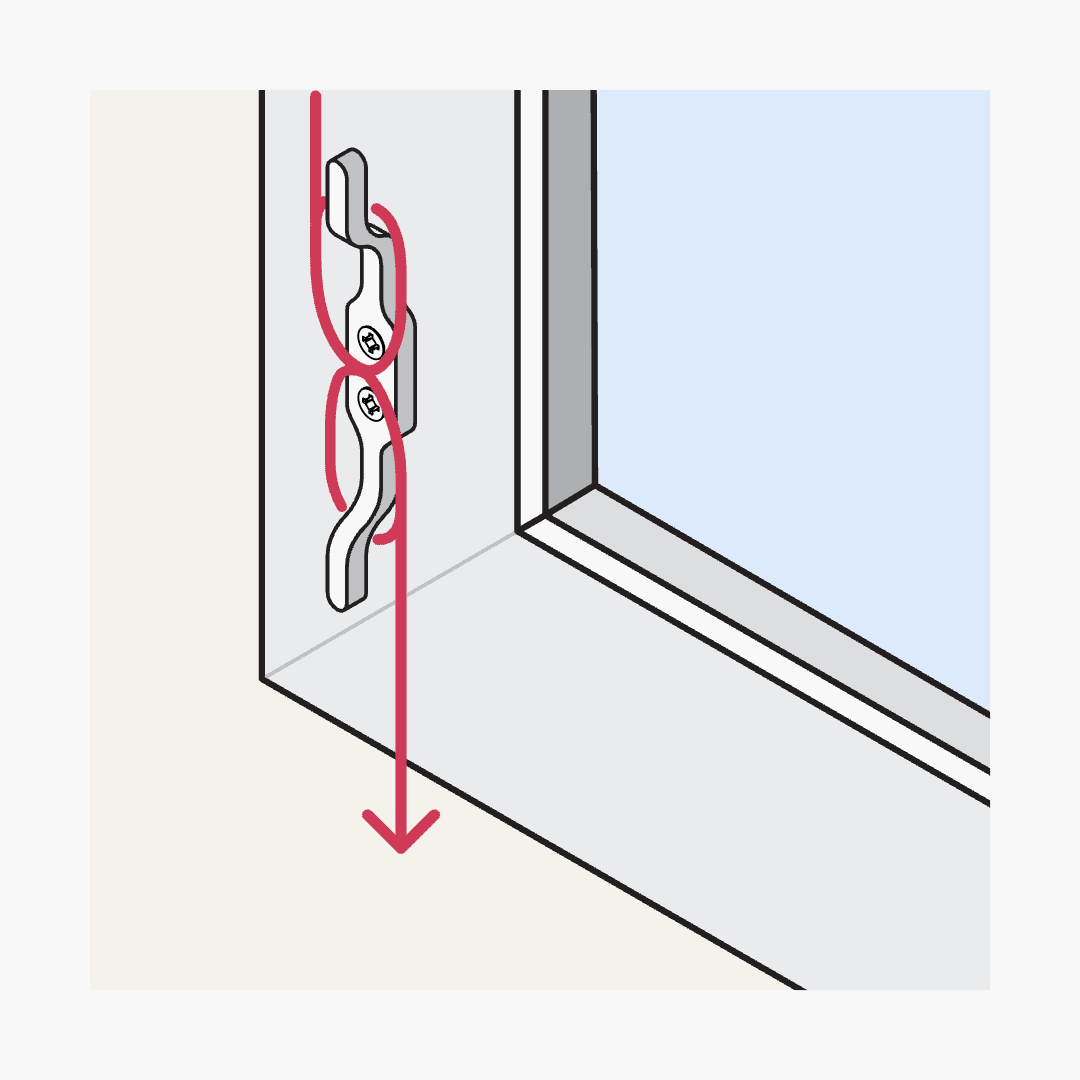
The cord must not form a loop longer than 220mm and should be wound entirely around the cleat.
Cord cleats must be installed to comply with Child Safety Regulations and more importantly keep kids safe from possible strangulation.