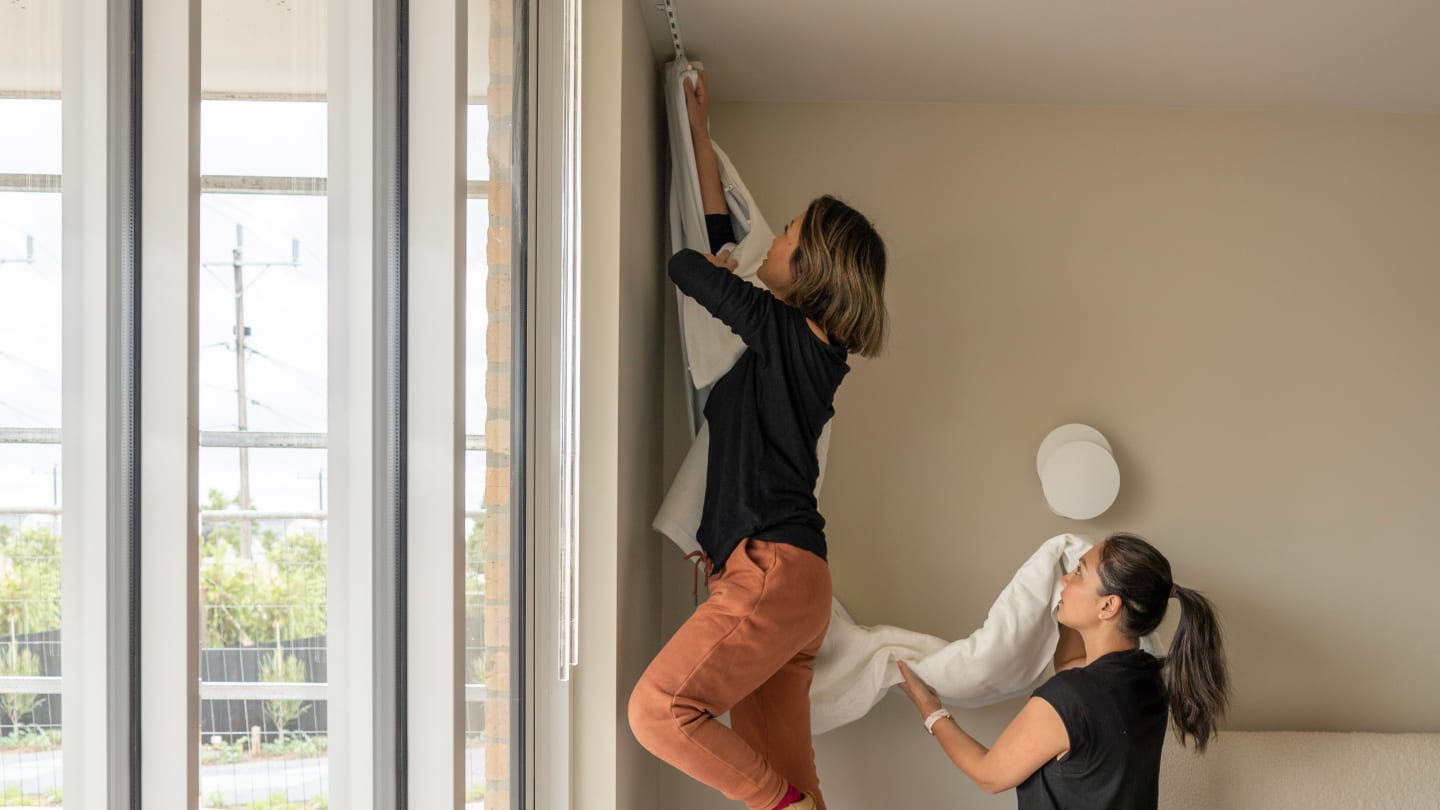
(!) To ensure a smooth and safe installation process, please take the following precautions:
Verify Measurements: Before installing your Panel Glide Blinds, double-check the final measurements of the supplied products to ensure they match your order and fit the intended space. If there is any doubt, notify us within 7 days.
Confirm Installation Items: Ensure you have all the necessary components and tools as specified in the installation guide.
Follow the Instructions Carefully: Adhere to the provided installation steps, particularly those indicating where two people are required for safe handling.
Inspect the Area: Perform a visual inspection of the installation area to identify and mitigate any risks to surrounding surfaces, objects, or structures.
Item Checklist
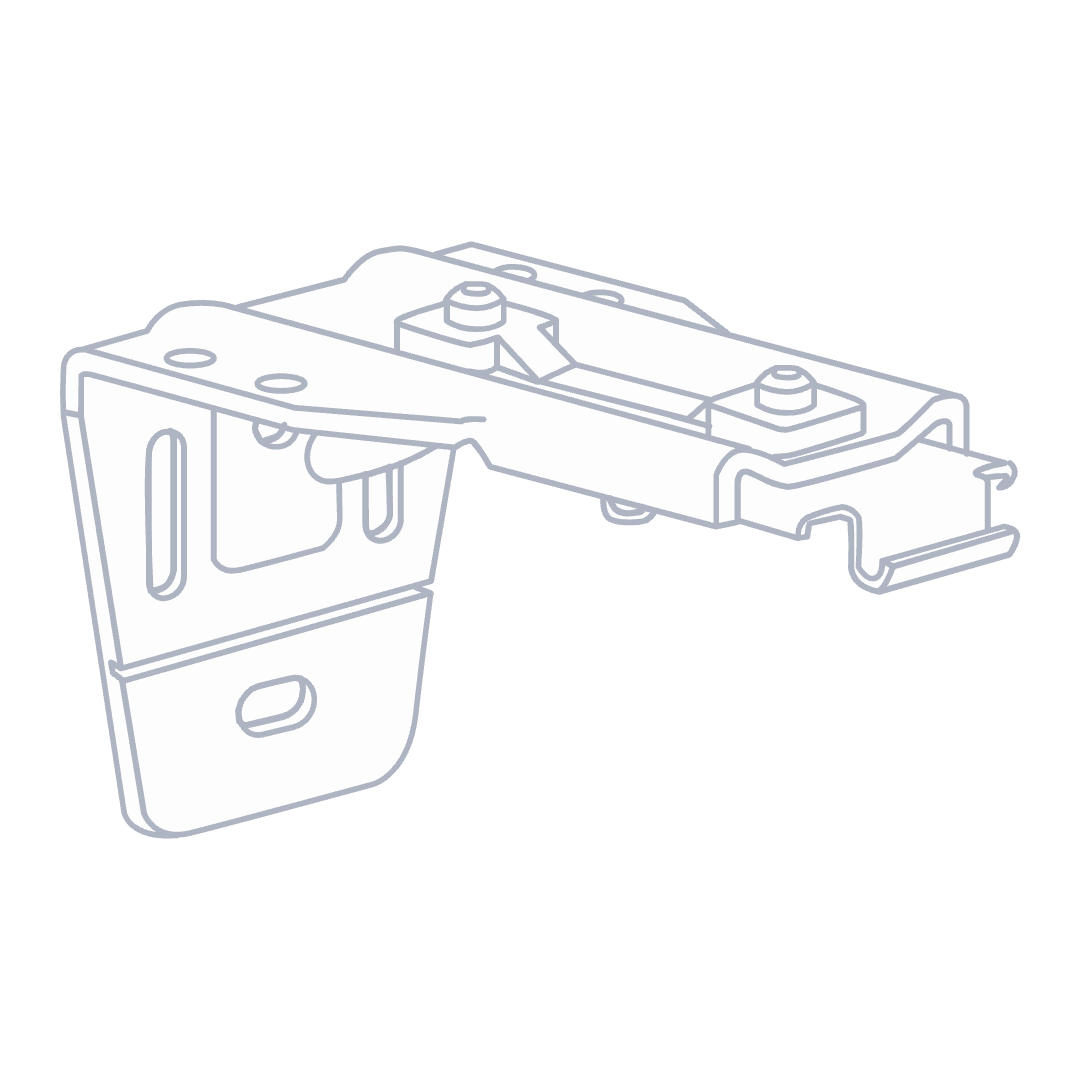
A
Brackets
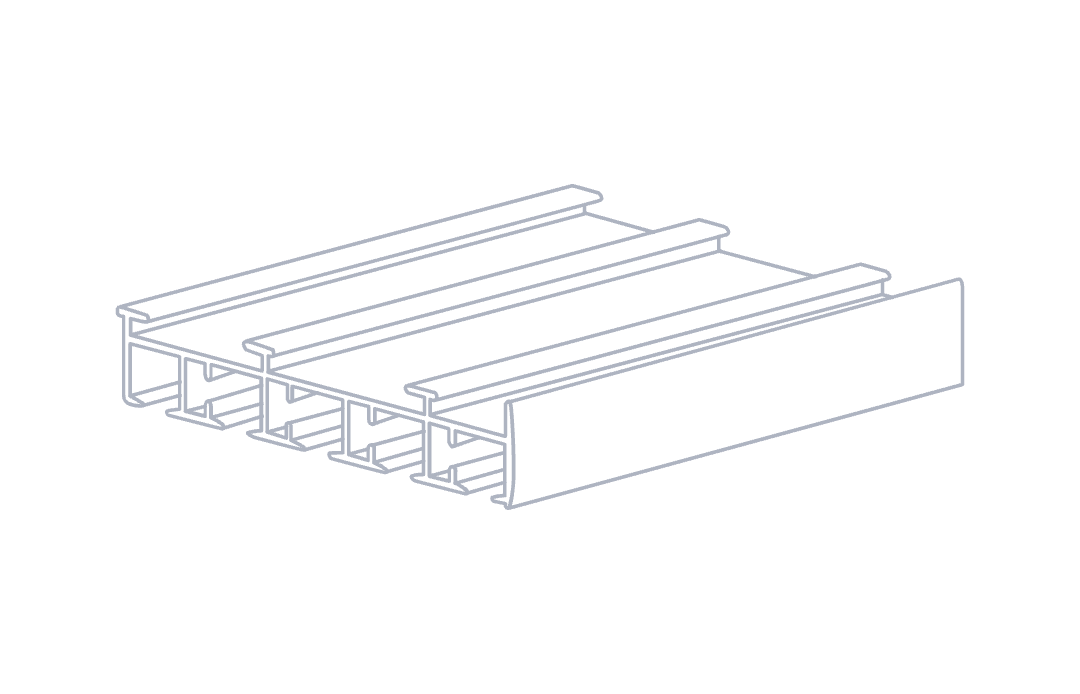
B
Track
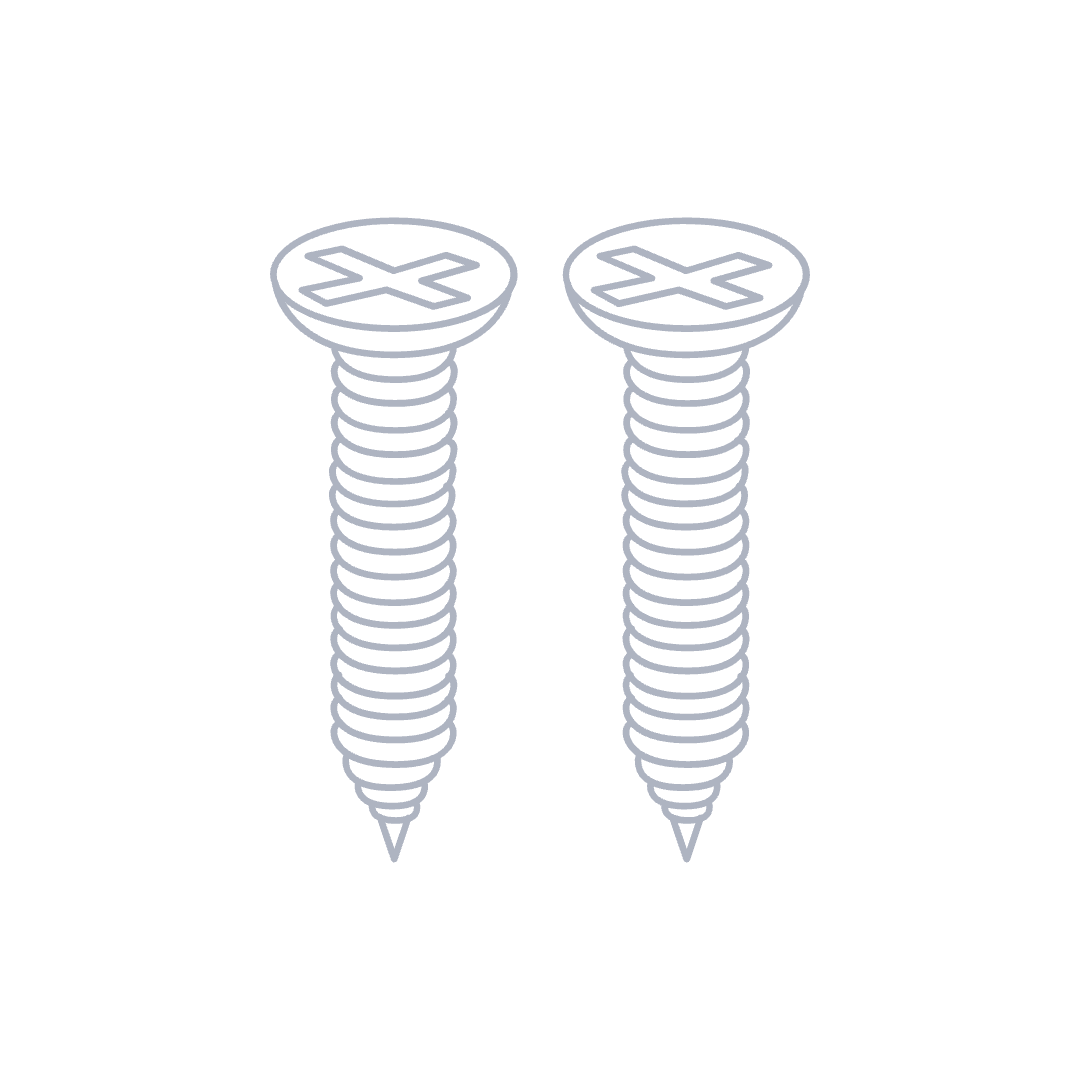
C
Screws
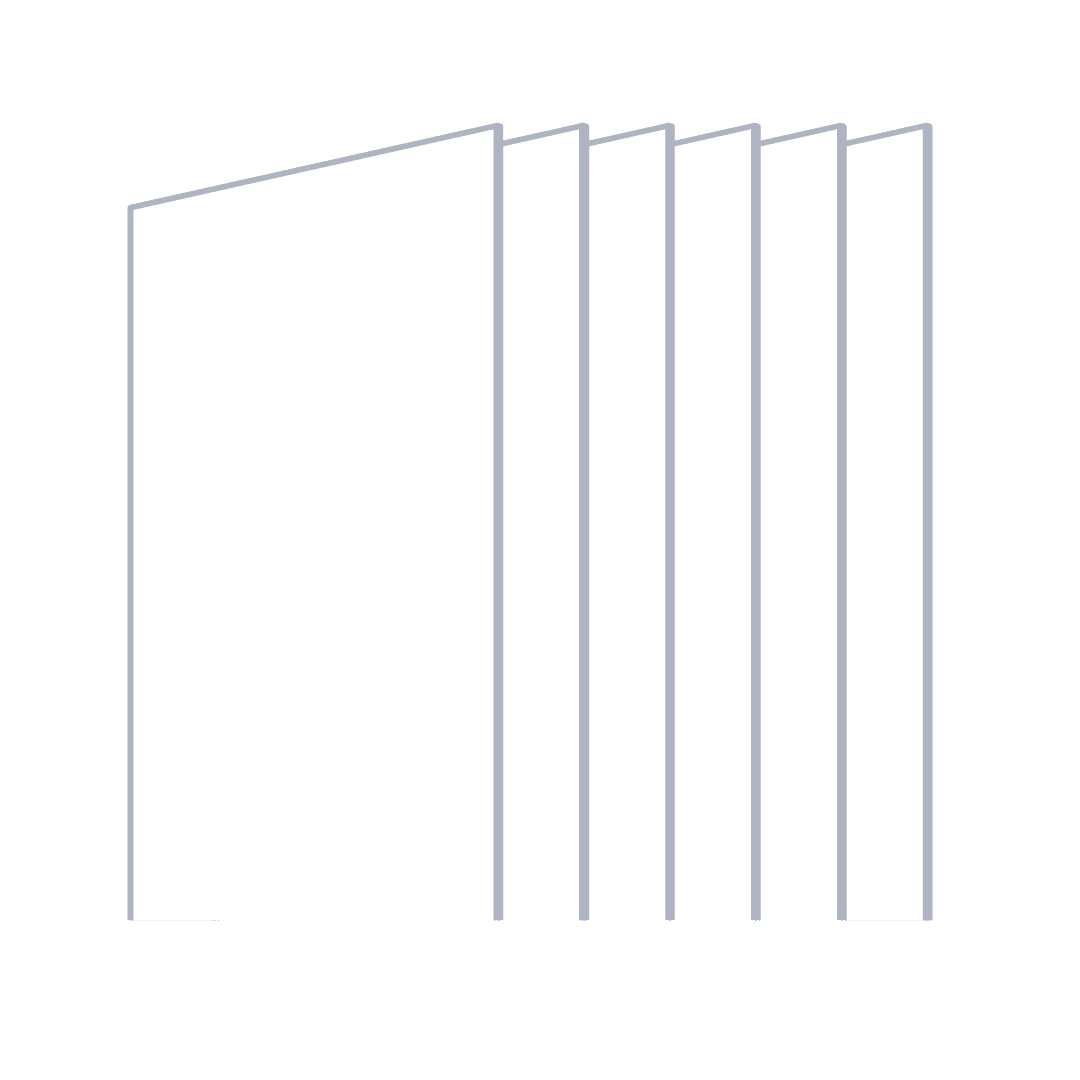
D
Panels
Bracket Supply List
Blind Size / Brackets Supplied
2000-2500mm / 4
2501-3000mm / 5
3001-3500mm / 6
3501-4000mm / 7
Tools Required
Cordless drill with Phillips head drill bit
Metal tape measure
Stepladder
What are you mounting your blind to?
I am drilling into timber: Pre-drill holes and use the provided screwsI am drilling into plaster: We recommend use of the Ramset 10mm Grip Hollow Wall AnchorI am drilling into concrete, stone, brick or tile: Use a Masonry drill and appropriate plugs, anchors or screws
(!) Important
It is important to securely attach the brackets to the mounting surface. To achieve this the included screws must secure into wood studs, otherwise a fastener is required for secure mounting (not included).
Make sure the fastener you purchase is suitable for the weight of the product. If you are unsure, please contact us so we can suggest the correct fastener.
OK it's time to start installing, let's take it step by step
Brackets
A
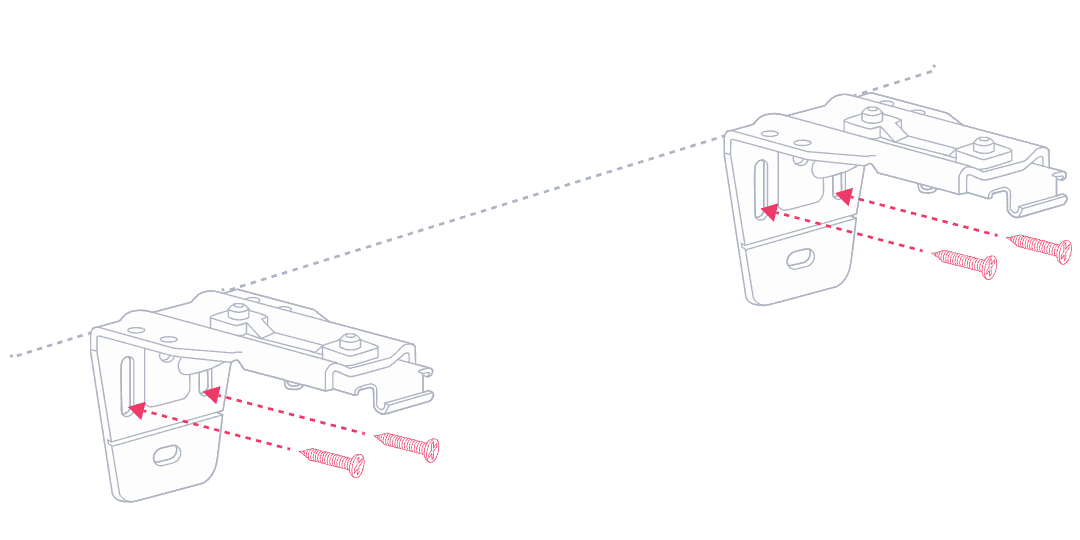
Screw in brackets:
Keep the end brackets 50mm in from the edge of the architrave and space evenly across the window
Ensure that the height of your bracket is at the height which you measured for your order
Mark if necessary and pre drill 2 holes before securing the brackets with screws
Positioning the track
A
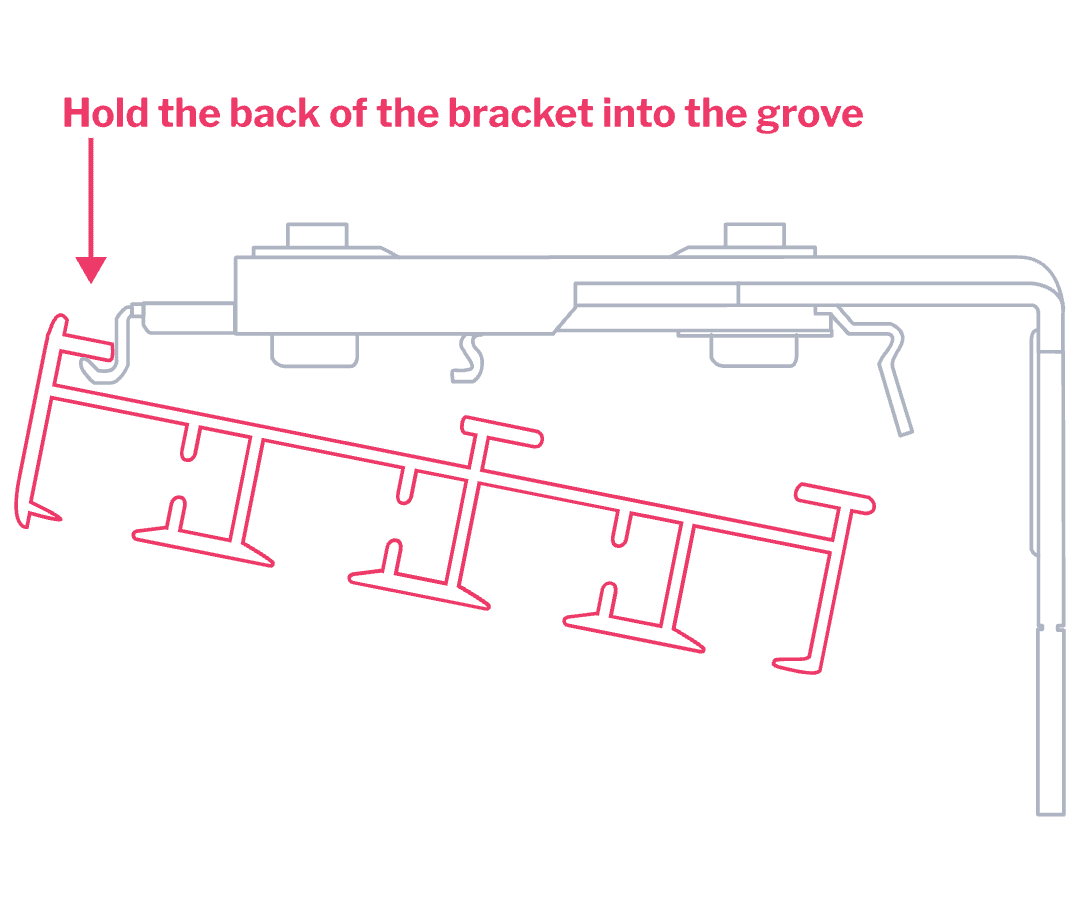
Lift the track into place, ensuring that it is evenly spaced across your window.
Insert the back of the bracket into the groove on the top at the rear of the track.
B
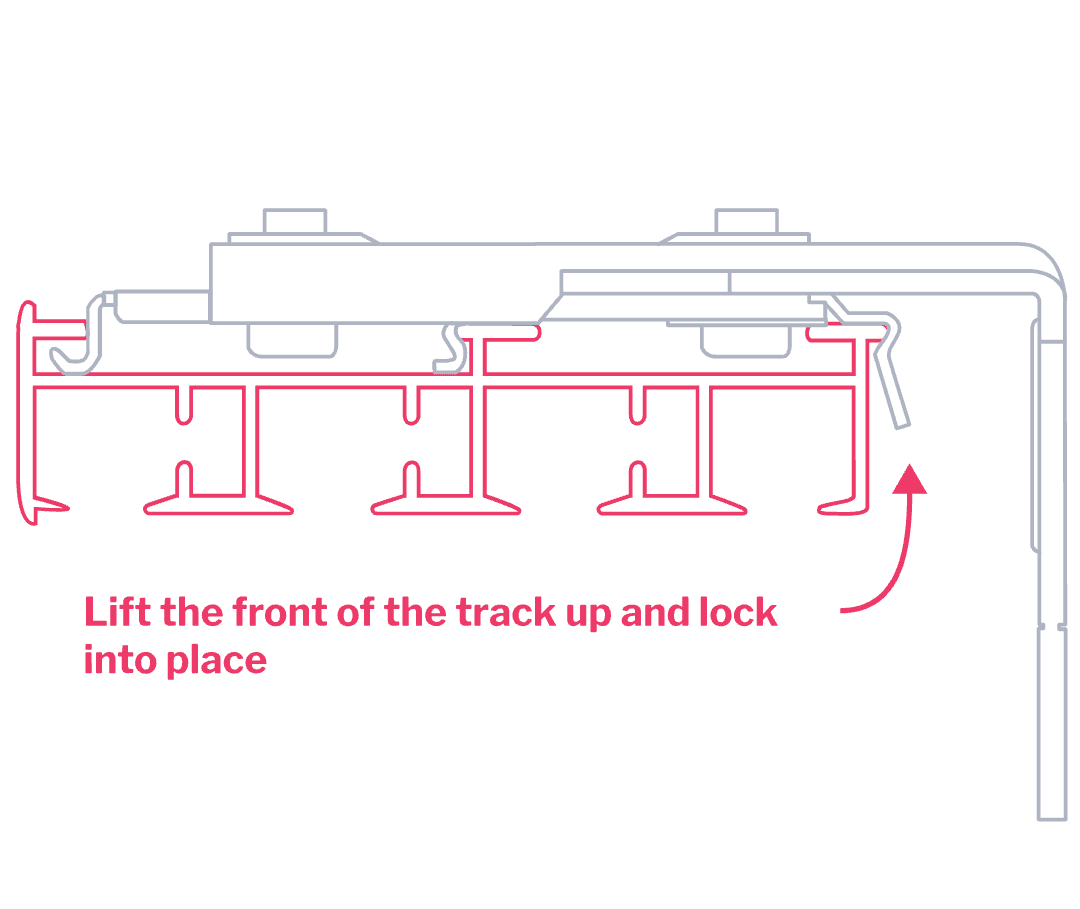
Lift the front of the track up and click into place.
Tip
For large blinds it is best to have a second person help hold the blind in position
Attaching the panels

Child Safe Control Wand
Hook the wands to both ends of the track for easy operation
To open and close, slowly push or pull the wand in the direction that is required