(!) To ensure a smooth and safe installation process, please take the following precautions:
Verify Measurements
Before installing your vertical blinds, double-check the final measurements of the supplied products to ensure they match your order and fit the intended space. If there is any doubt, notify us within 7 days.
Confirm Installation Items
Ensure you have all the necessary components and tools as specified in the installation guide.
Follow the Instructions Carefully
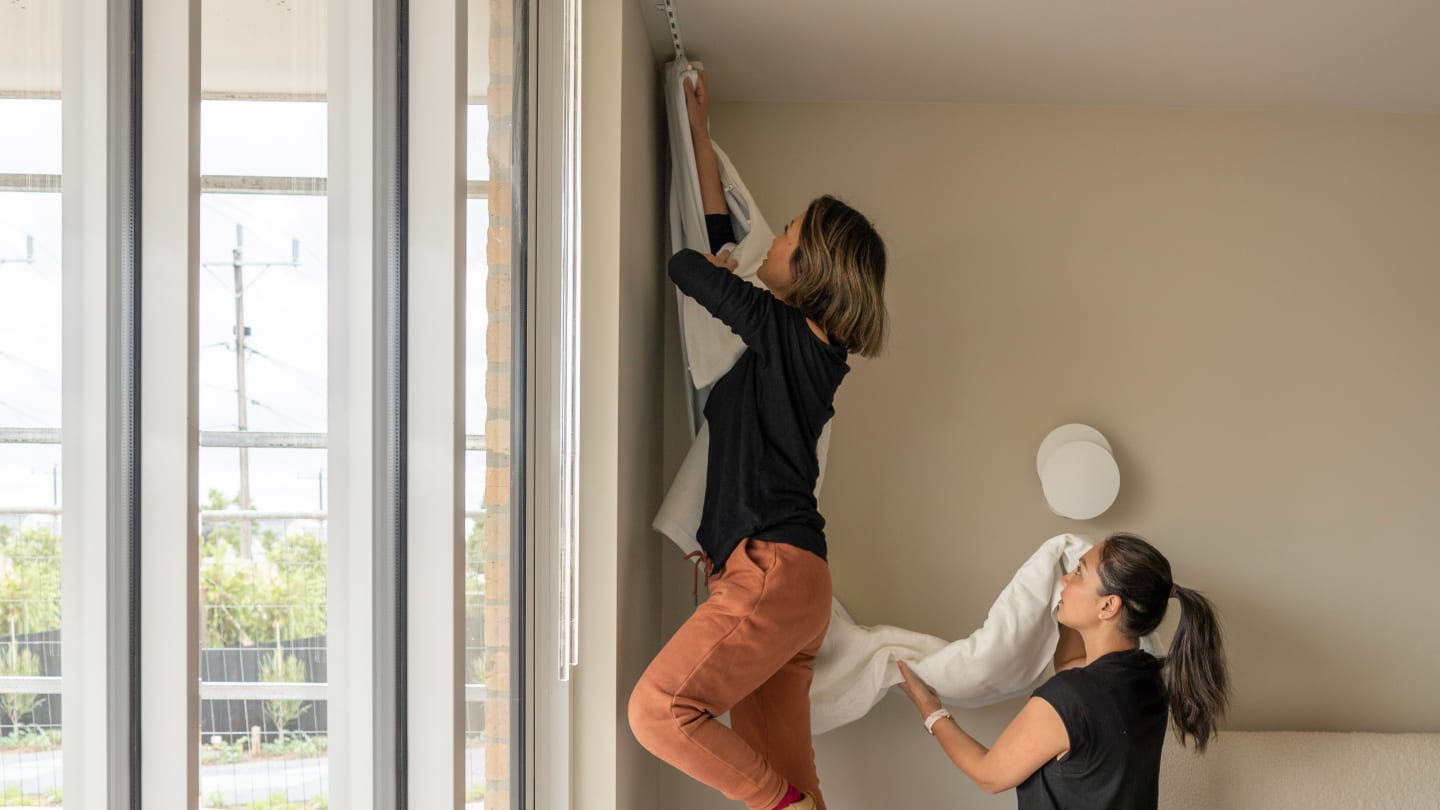
Adhere to the provided installation steps, particularly those indicating where two people are required for safe handling.
Inspect the Area
Perform a visual inspection of the installation area to identify and mitigate any risks to surrounding surfaces, objects, or structures.
What you’ll need to install

1-2 people

20-30 mins
Tools
- Cordless drill with Phillips head drill bit
- a tape mesure (metal is best)
- protective eyewear
Your custom kit
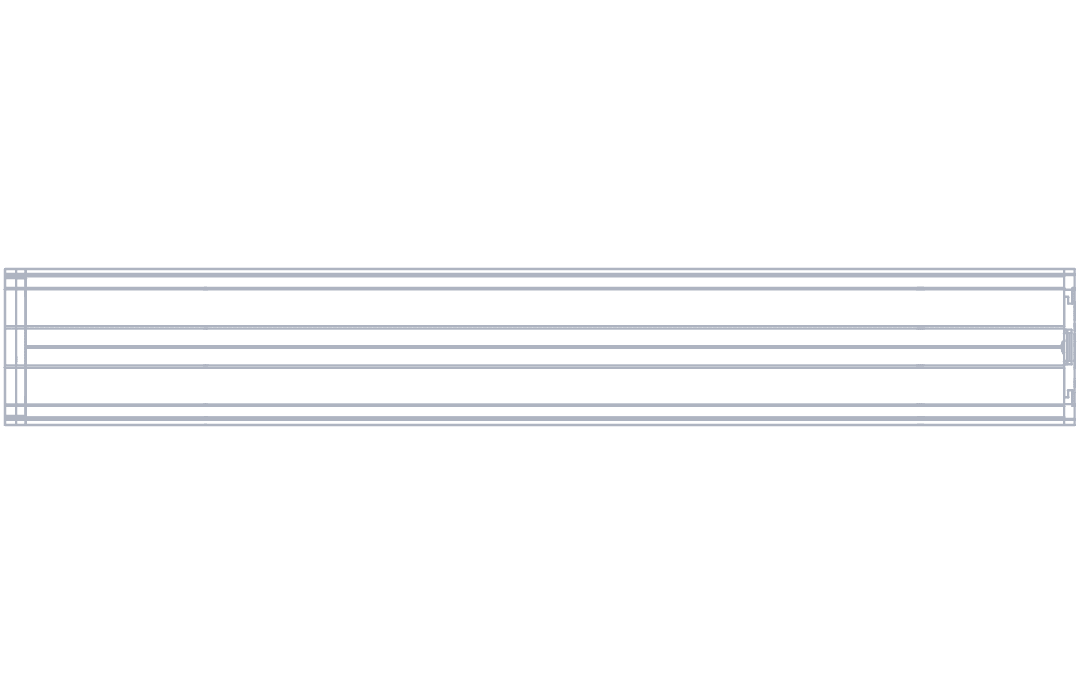
A
Vertical Blind Track

B
Blind Slats
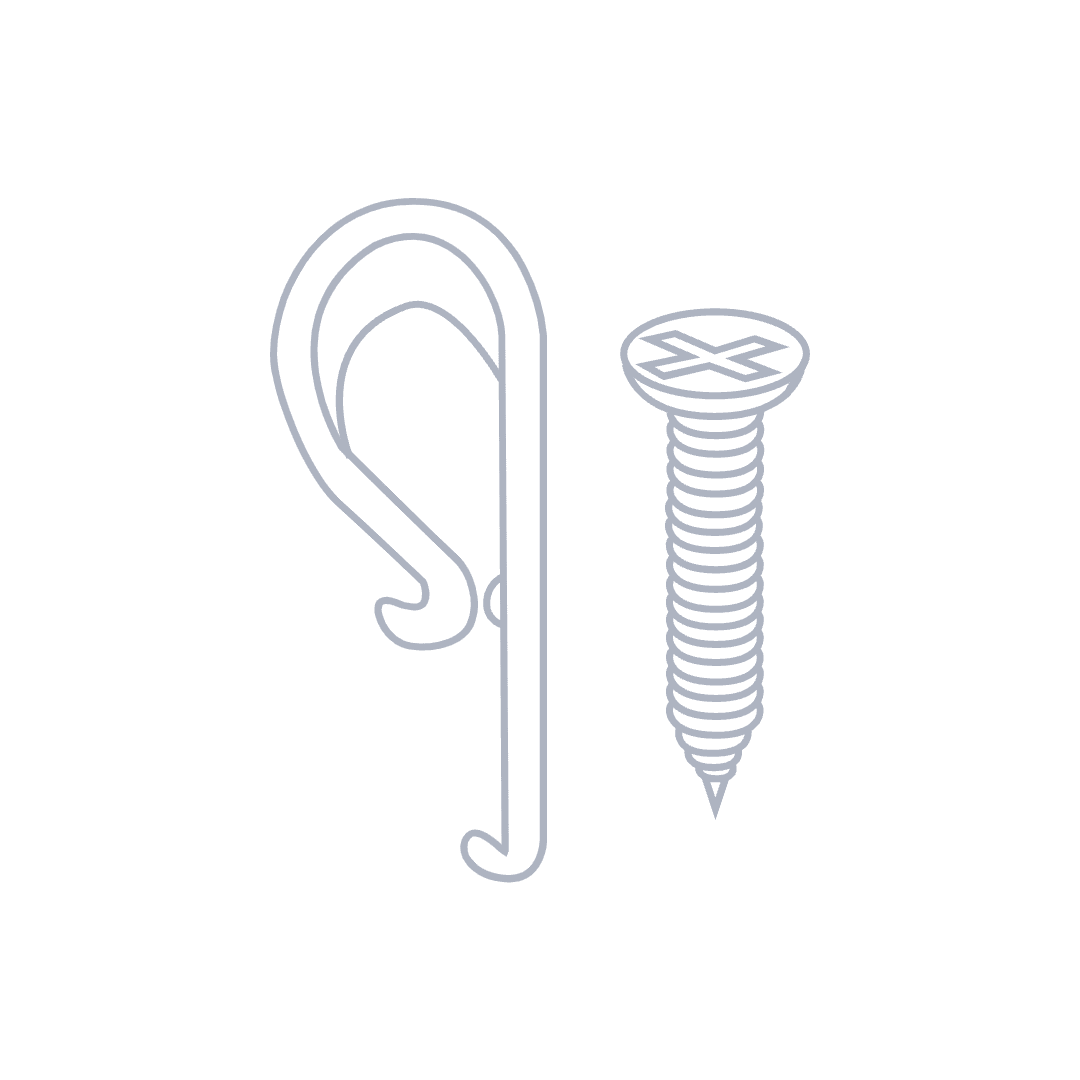
C
P-Clip
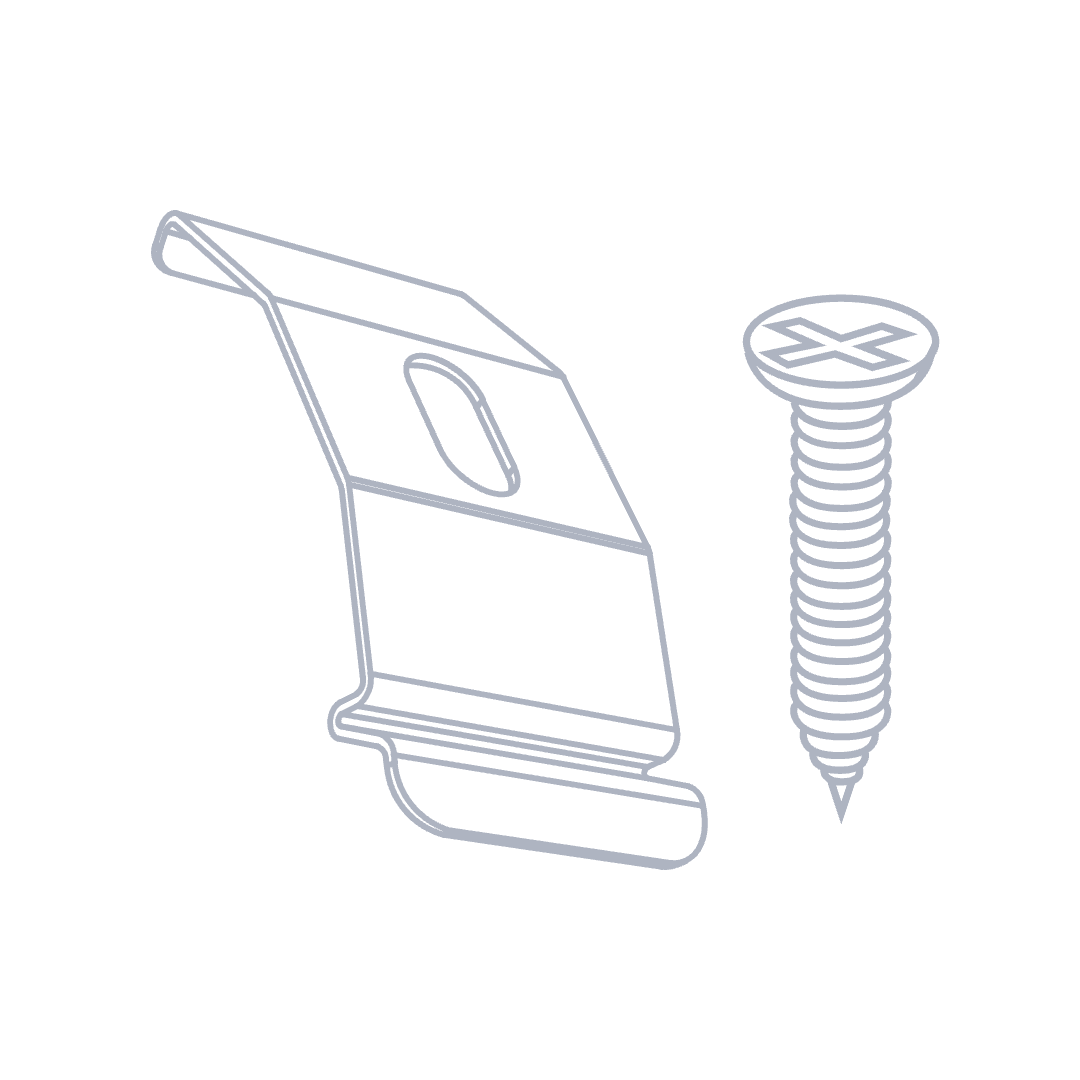
D
Brackets
Bracket Supply List
Track Size | Brackets Supplied |
|---|---|
100-1300mm | 2 |
1301-2400mm | 3 |
2401-3500mm | 4 |
3501-4600mm | 5 |
4601-5800mm | 6 |
What are you mounting your blind to?
I am drilling into timber: Pre-drill holes and use the provided screws
I am drilling into plaster: We recommend use of the Ramset 10mm Grip Hollow Wall Anchor
I am drilling into concrete, stone, brick or tile: Use a Masonry drill and appropriate plugs, anchors or screws

Position the brackets
As per your order, determine where your blind is to be fitted
The amount of brackets supplied will vary depending on the width of the Vertical blind track.
Recess Fit - Inside your window frame Position the end brackets at least 100mm in from the end. Evenly space the middle brackets along the window frame (middle brackets will only be provided if your blind is lower than 1500mm).
Face Fit - On the window frame or wall Mark out the positions for the bracket at the desired even distance. If fitting the blind to architraves and the track has an overhang that goes past the window frame, put the end brackets level with the edge of the architrave.
Install the brackets
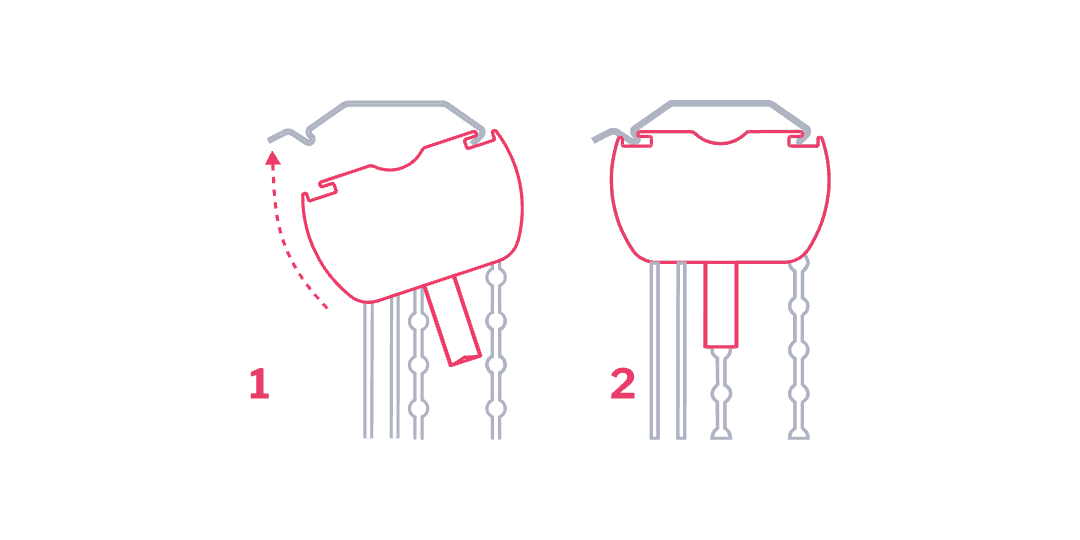
A
Chain Drive Bracket:
Place the Chain Drive Bracket on the side you wish to have the operating chain as per your order.
Mark if necessary and pre drill 2 holes before securing the bracket with screws.
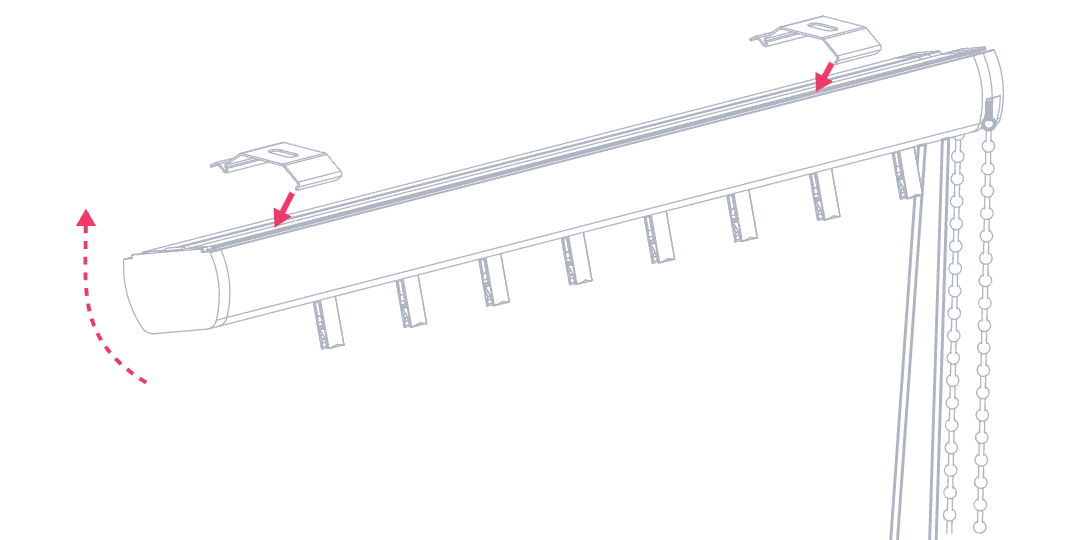
B
Pin End Bracket:
Repeat the process for the Pin End Bracket.
Remember
Wood screws have been provided, please ensure you have the appropriate screws and drill bit (as specified above) if you are not drilling into wood.
Install the slats
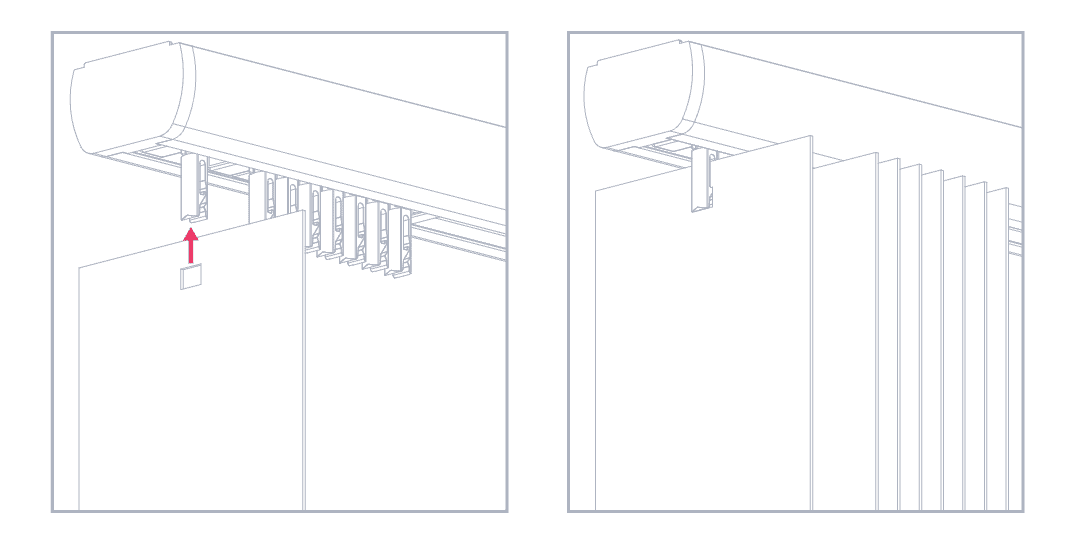
A
Peg Hook

B
Slate Removal
Child Safe Cord Tensioner
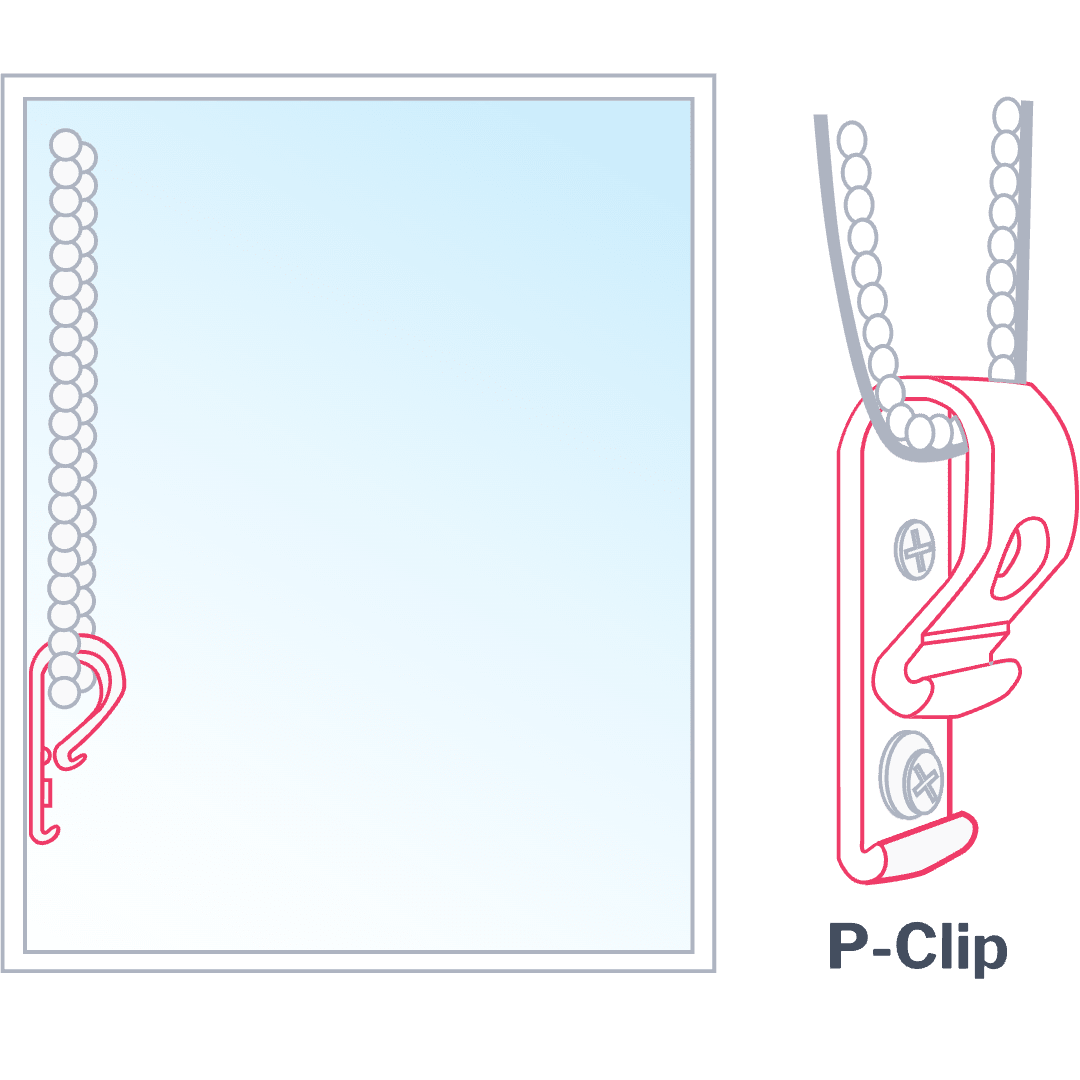
Position the tension device at the bottom of the chain loop, either to the inside of the window frame or in front of it.
Install the tension device onto frame, making sure that the loop chain hangs with minimal tension.
Important
Australian Child Safety Laws state that a cord tensioner must be installed if the chain is less than 1.6m from the floor to prevent any risk of strangulation.