Need design support? We're here.

Get help

On this page

Welcome to our simple guide to measuring your windows for your new honeycomb blinds. You're going to love just how quick and easy it is to measure up, so let's go!

How to measure Honeycomb Blinds

Designed with thermal efficiency as a priority, our Honeycomb blinds are the most cost-effective way of insulating any modern home. Available in Blockout and Light Filtering, the cells trap air inside them, assisting with temperature regulation within your home through any climate. Honeycomb blinds satisfy the desire for a fresh, modern interior whilst helping to lower your energy bills.

Make a decision

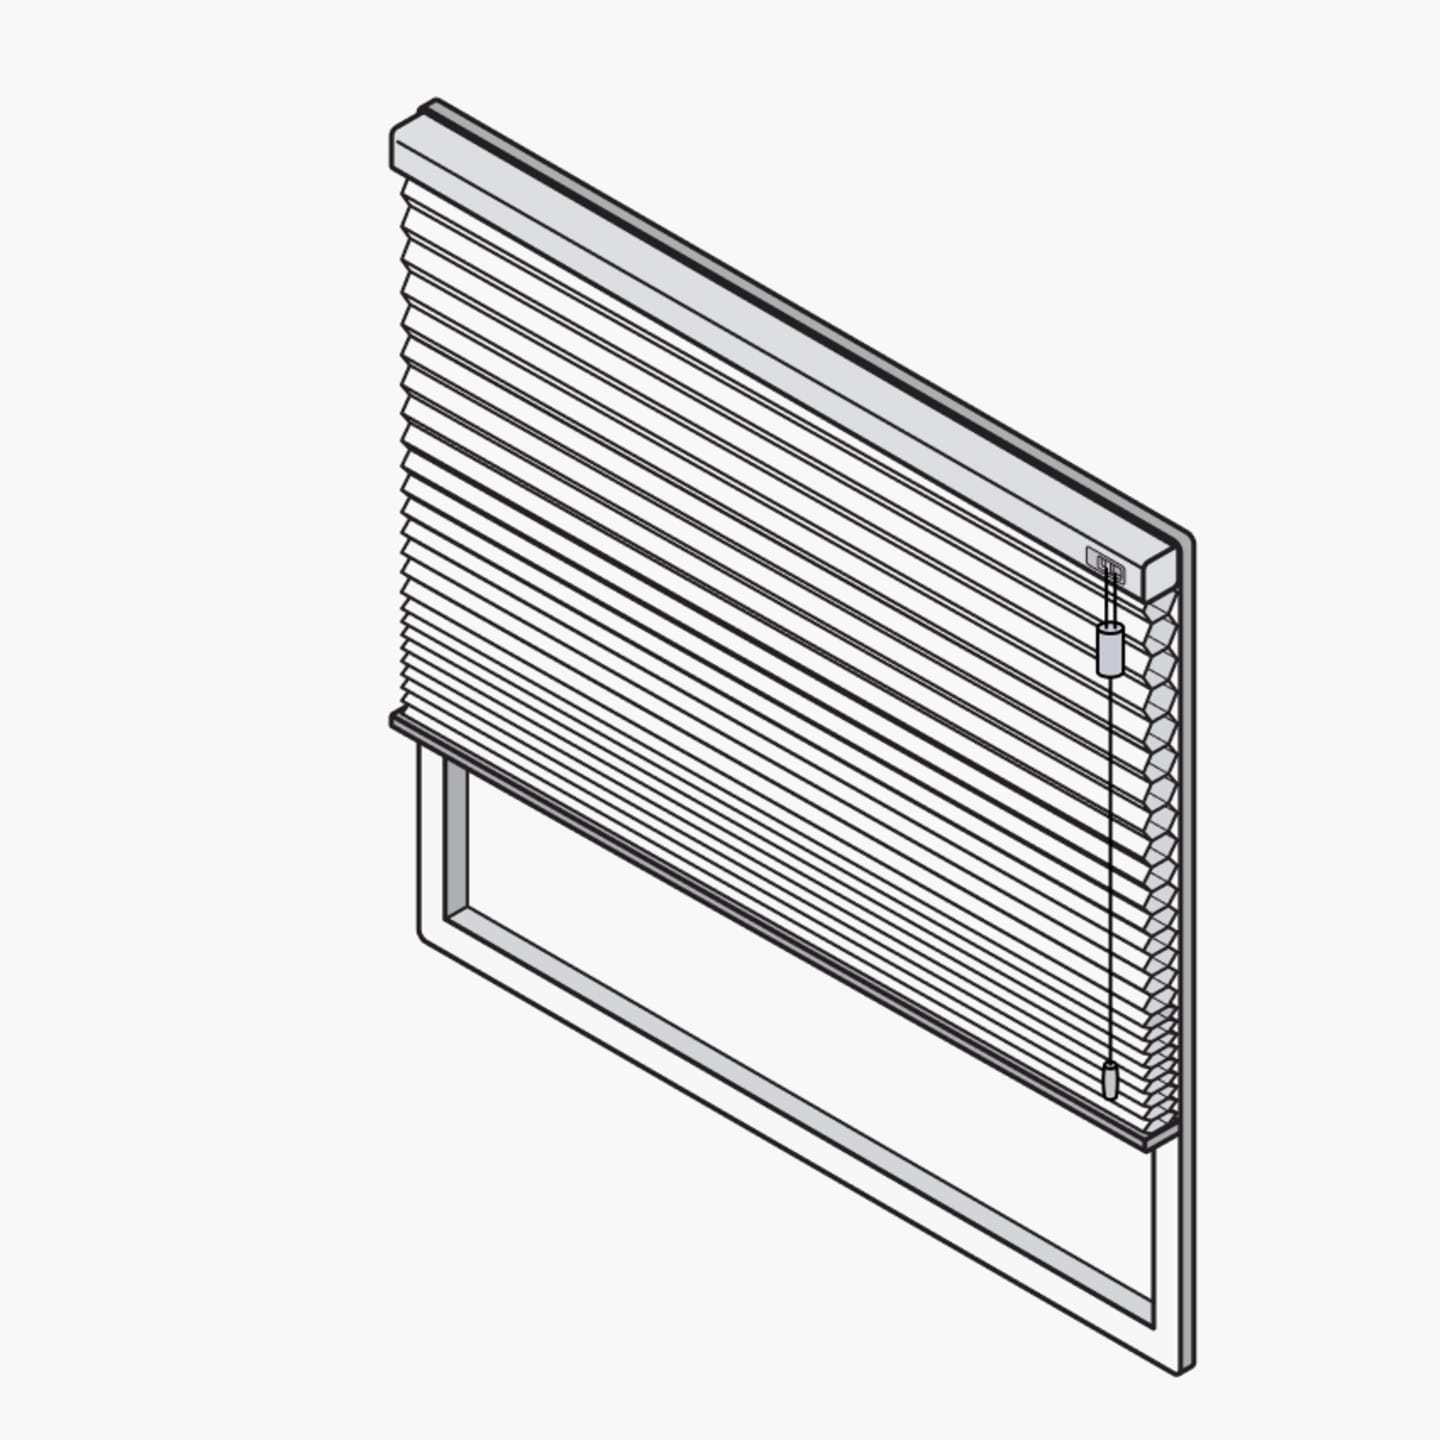
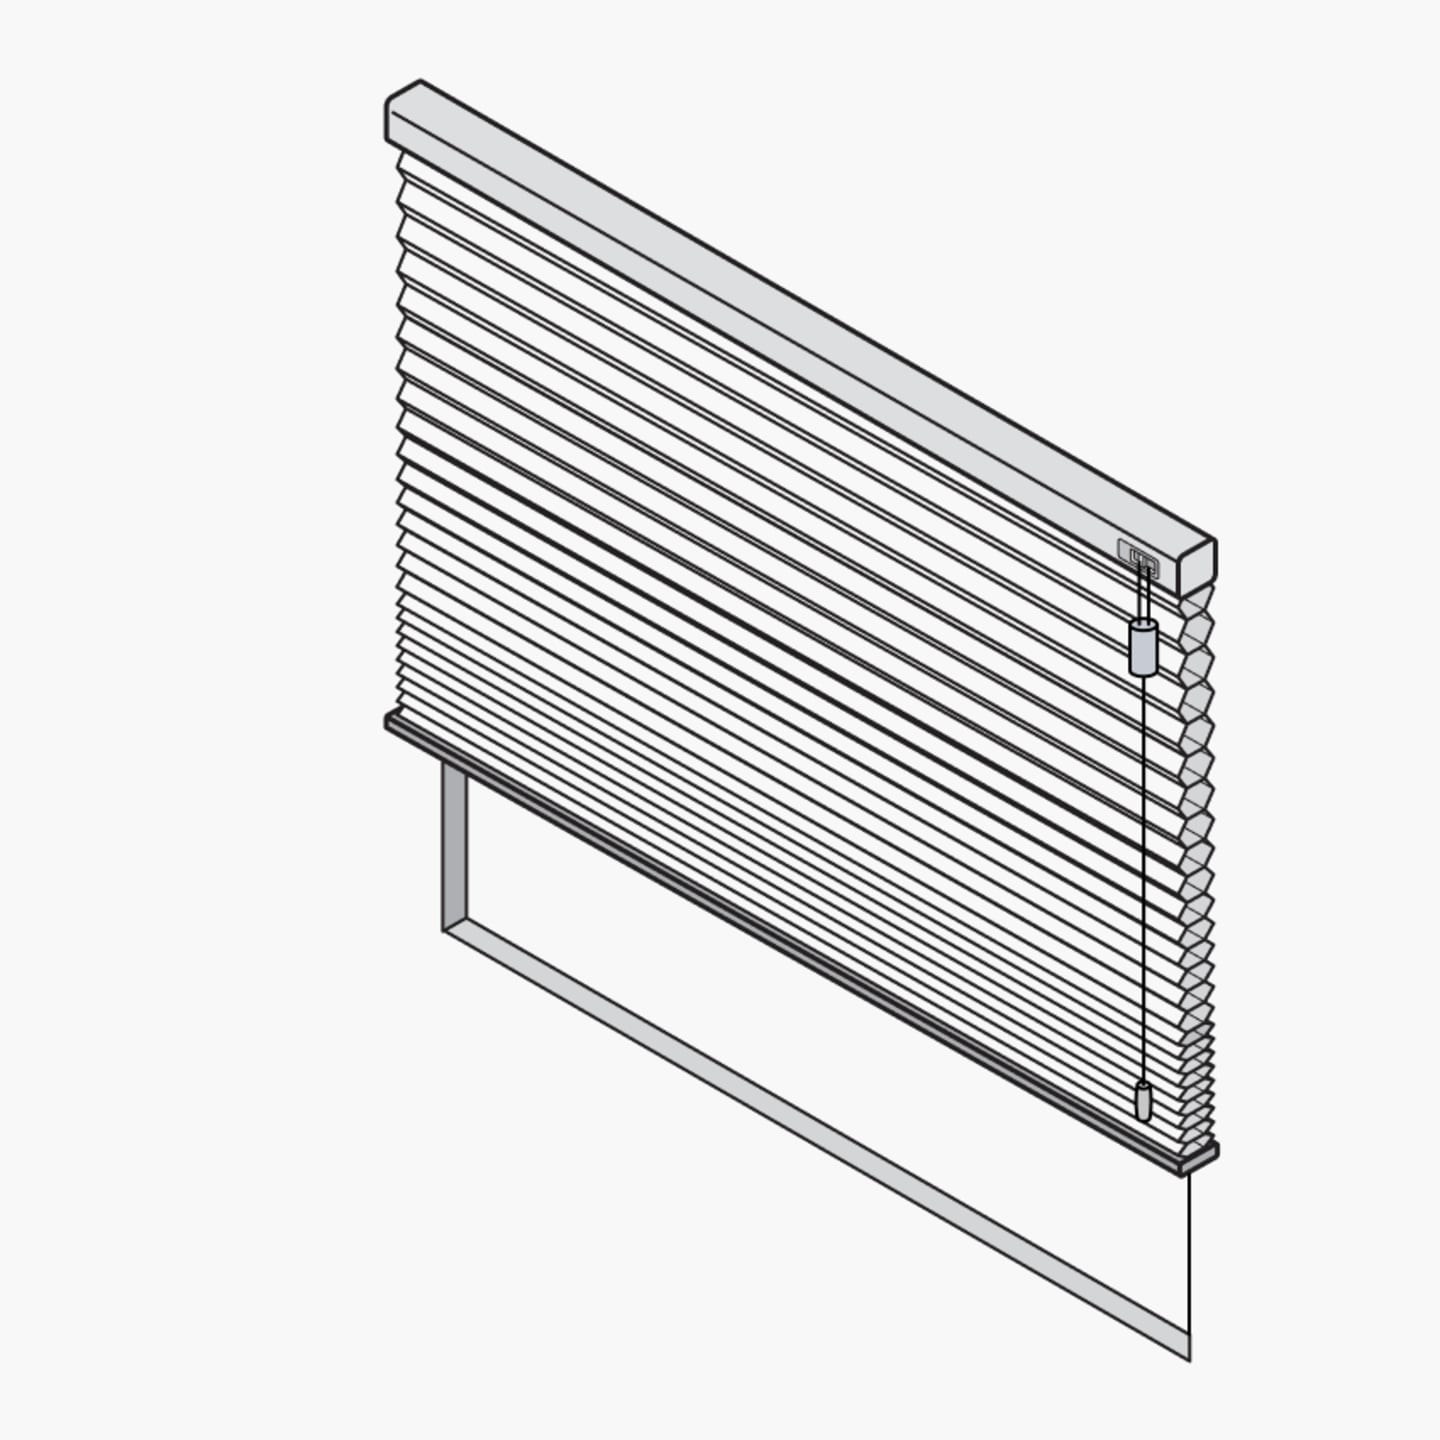
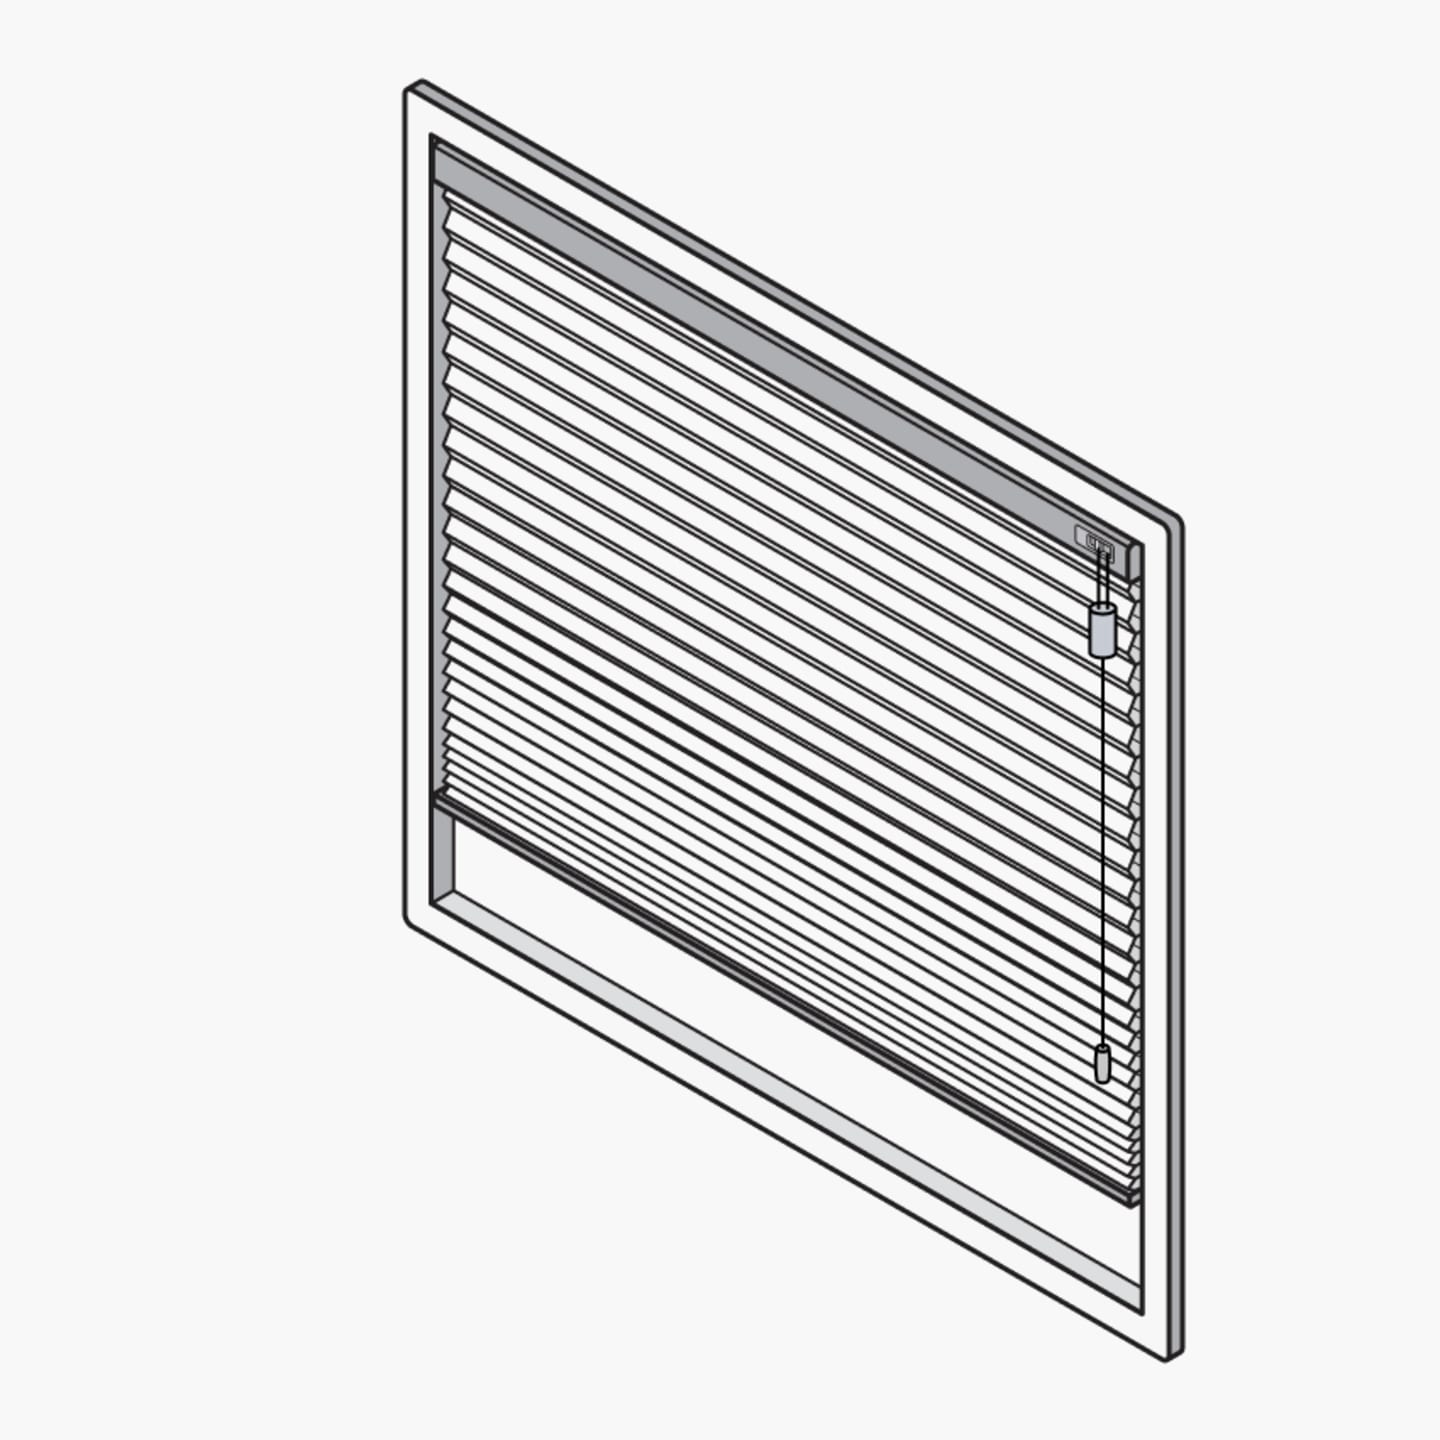
The first crucial step before measuring your windows is deciding whether you want your blinds to sit on the inside of the window frame as a recess fit, or on the outside of the frame as a face fit, as this will determine where you take your measurements from.

Remember

If you’re unsure, a face fit is your best option if there are obstructions such as window handles which may prevent your blind from closing smoothly in the recess.

Checklist

People Icon

1-2 people

Time Icon

Less than 5 minutes

Tools

  • A metal tape measure
  • A pen or pencil
  • Piece of paper
  • Step Ladder

Before you get going

Provide measurements in millimetres
Double check all of your measurements
Specify width and drop when writing your measurements to ensure you don’t reverse them
Only provide the exact measurements, do not make deductions to allow clearance
Measure every window as they may have slight variations that will prevent your blinds from fitting perfectly
Face fit
Face fit
Face Fit Frameless
Face Fit Frameless
Recess Fit
Recess Fit
1
Measure your width

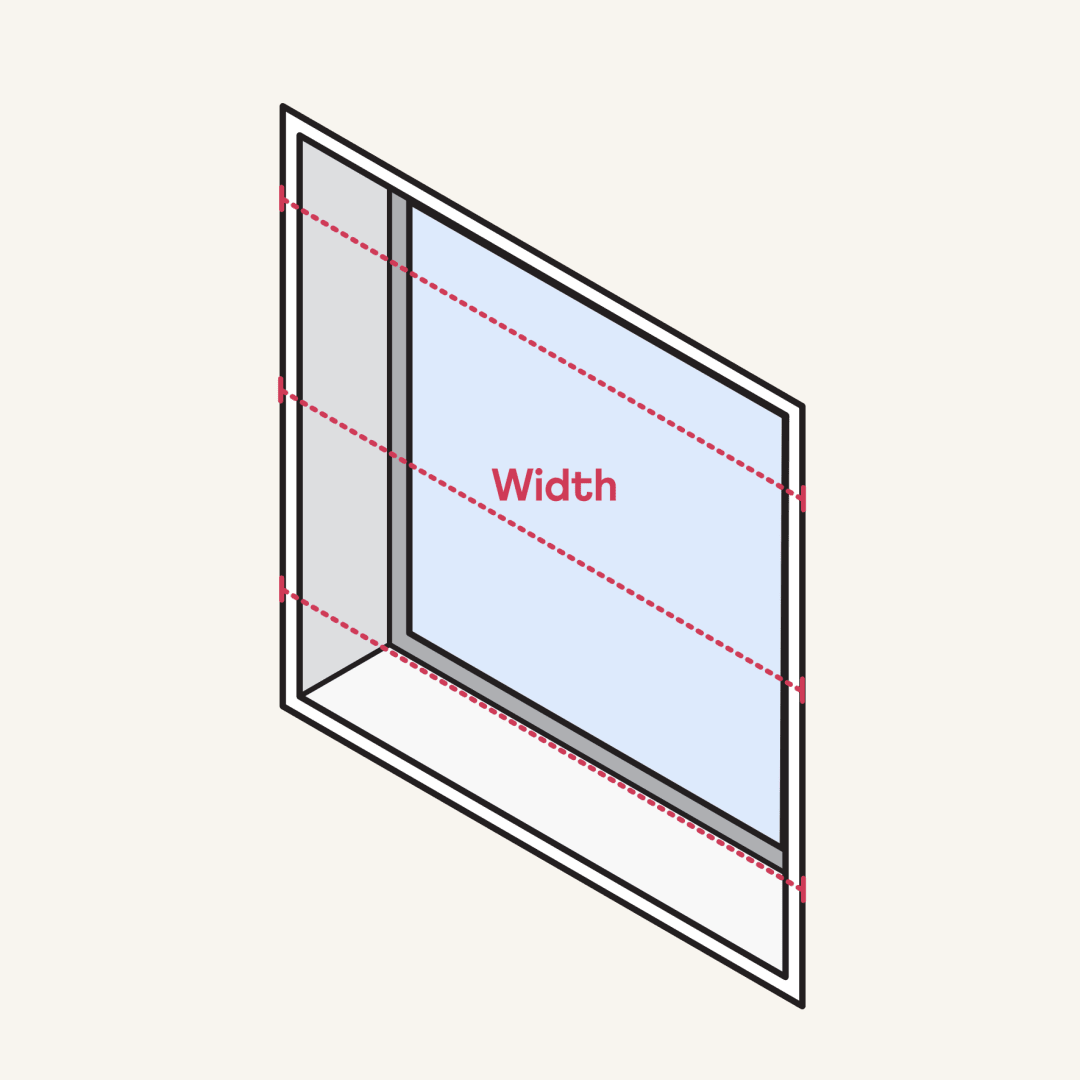
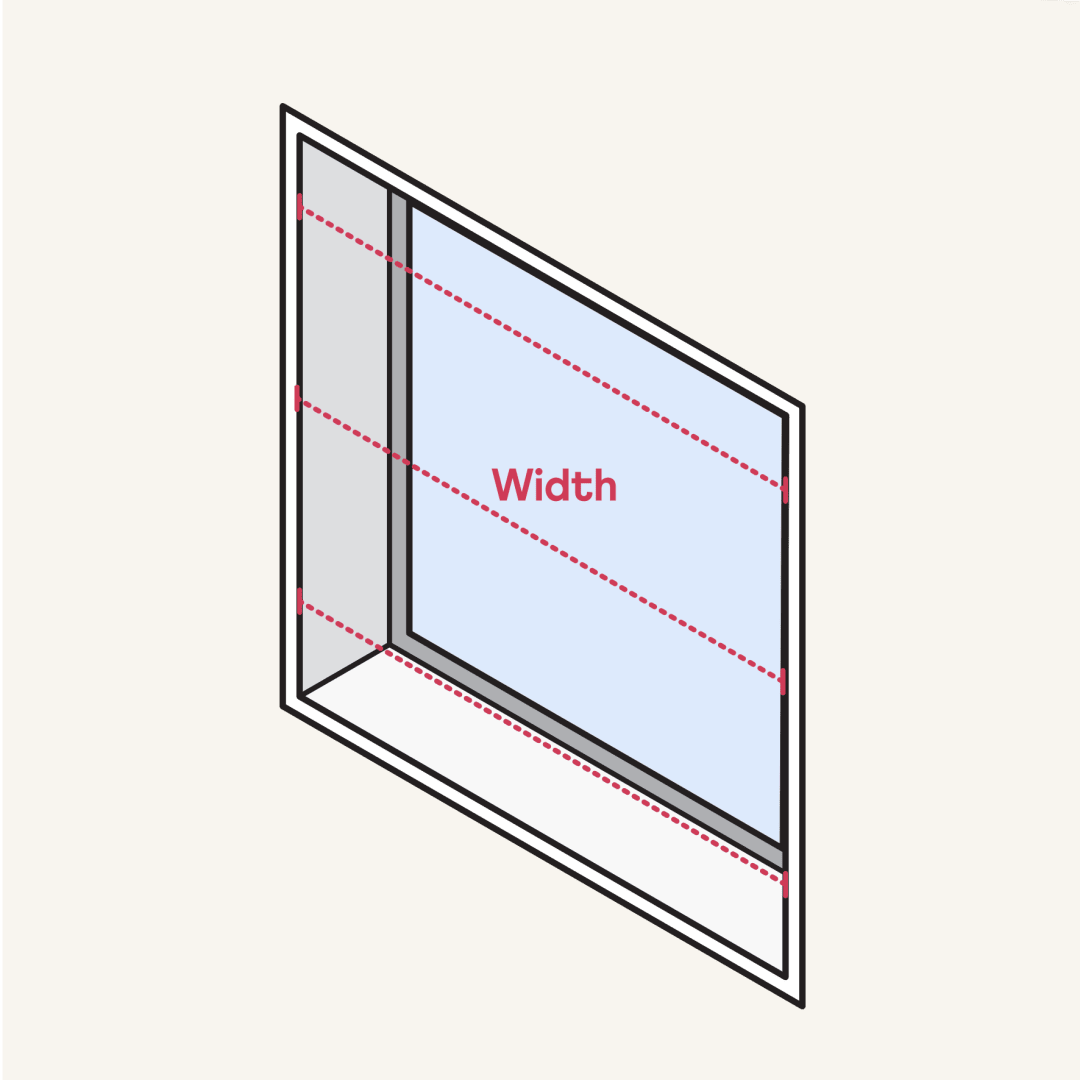
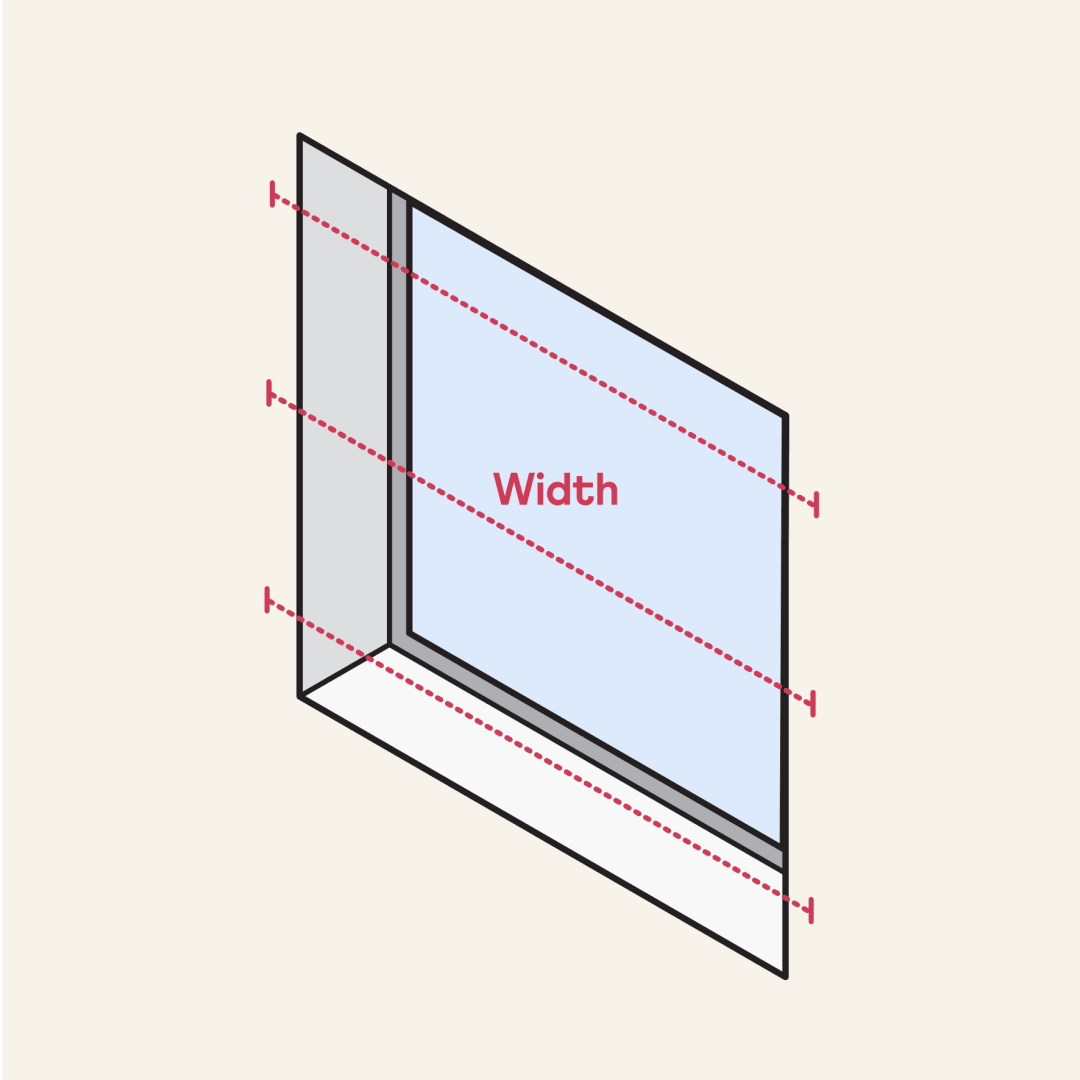
Measure the exact outside width straight across the window frame in three different positions: across the top, middle and bottom. This will help cater for any anomalies.

Once finished, record the largest measurement.
2
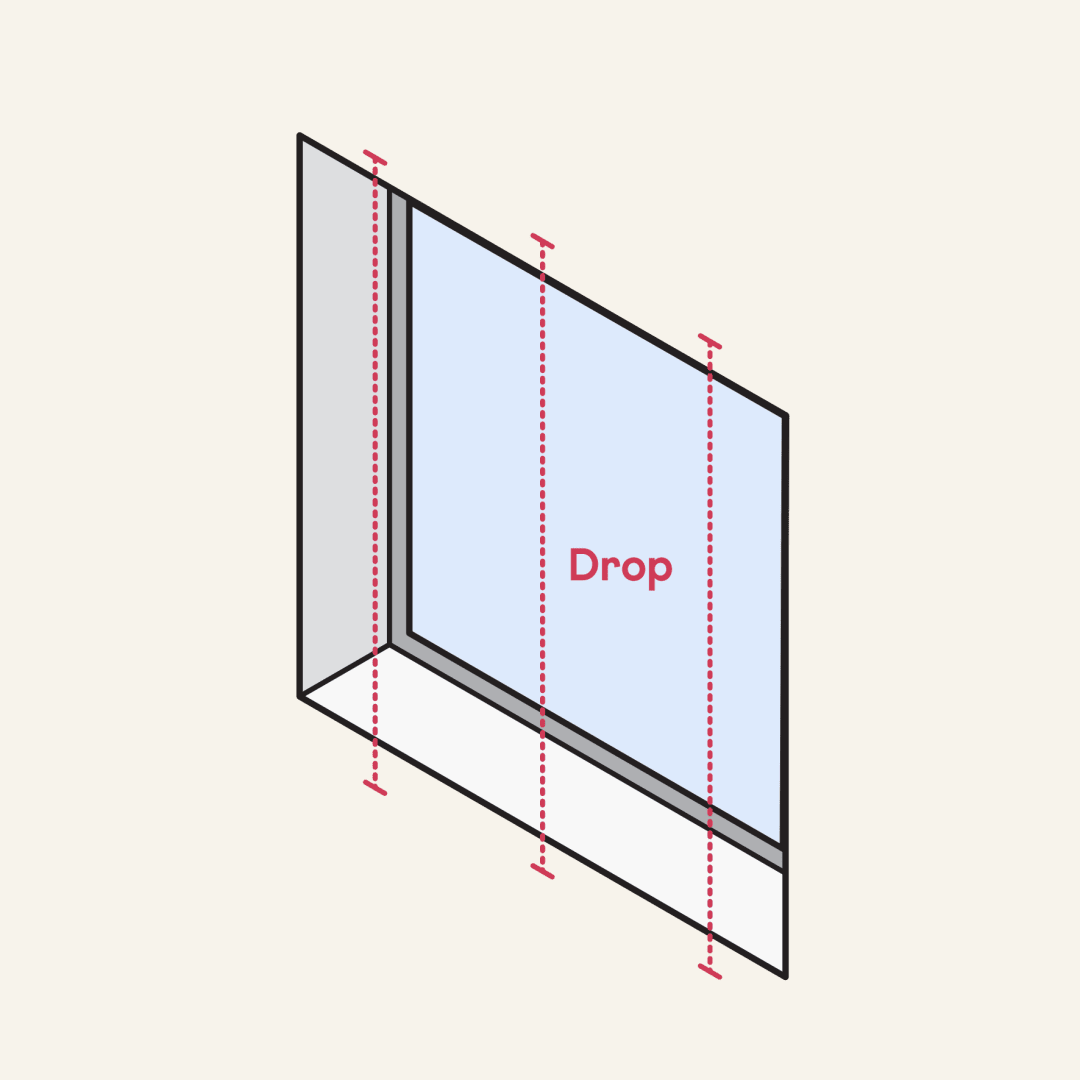
Measure your drop

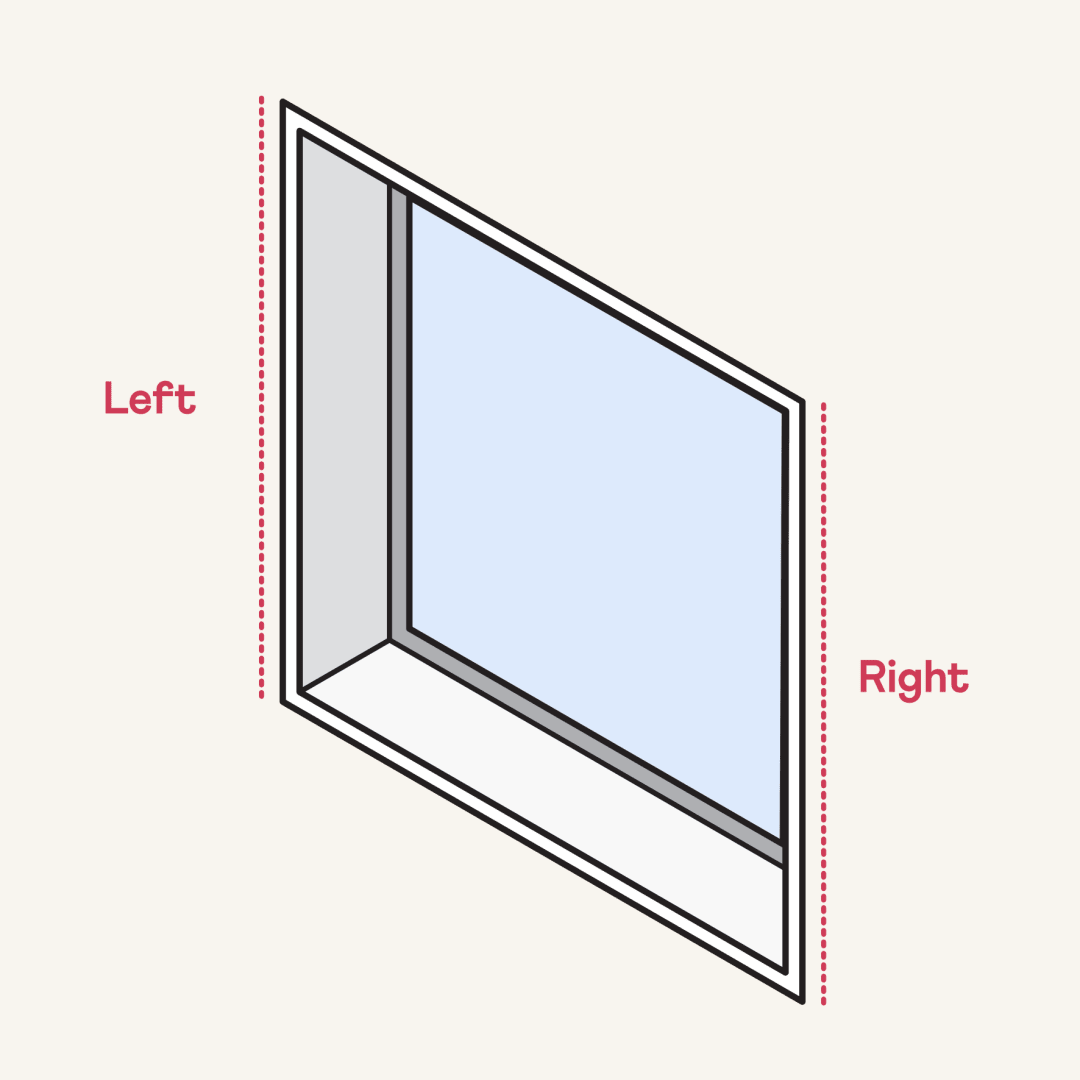
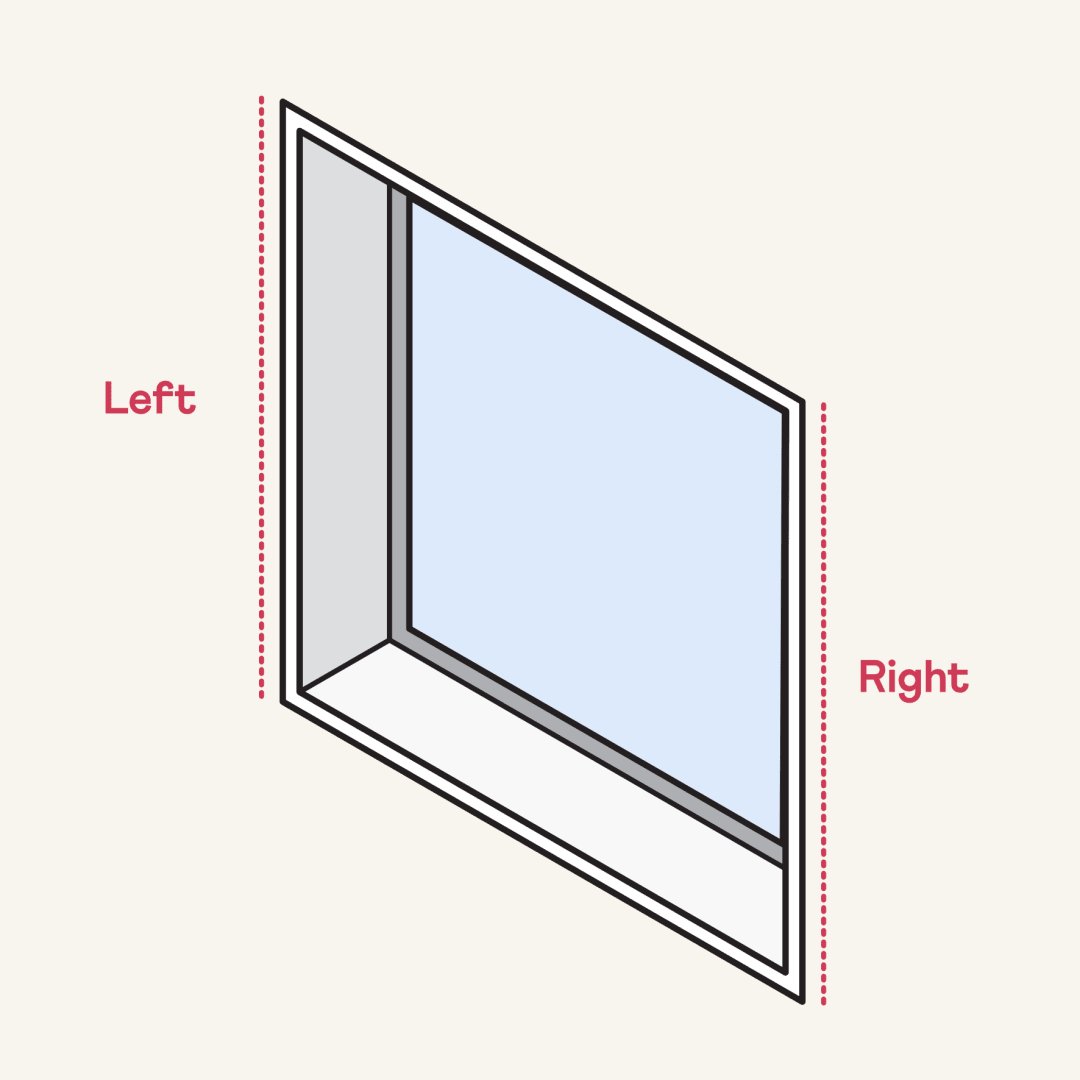
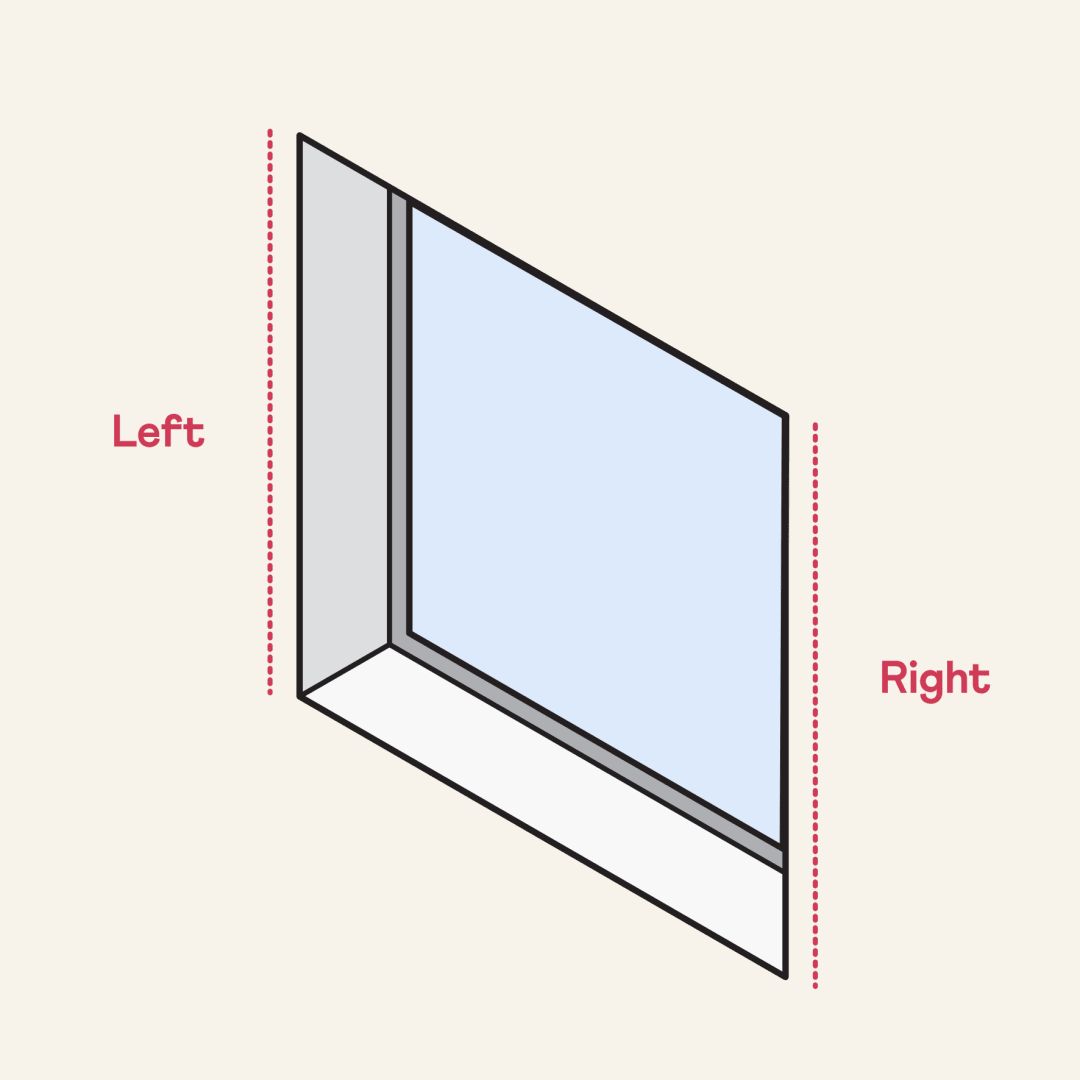
Take measurements on the left, in the centre, and on the right, then use the largest of the three as your drop. This could be at the bottom of the frame, just above the floor, or aligned with other blinds in the same room.

3
Choose your chain side
A

Standard Bottom Up:

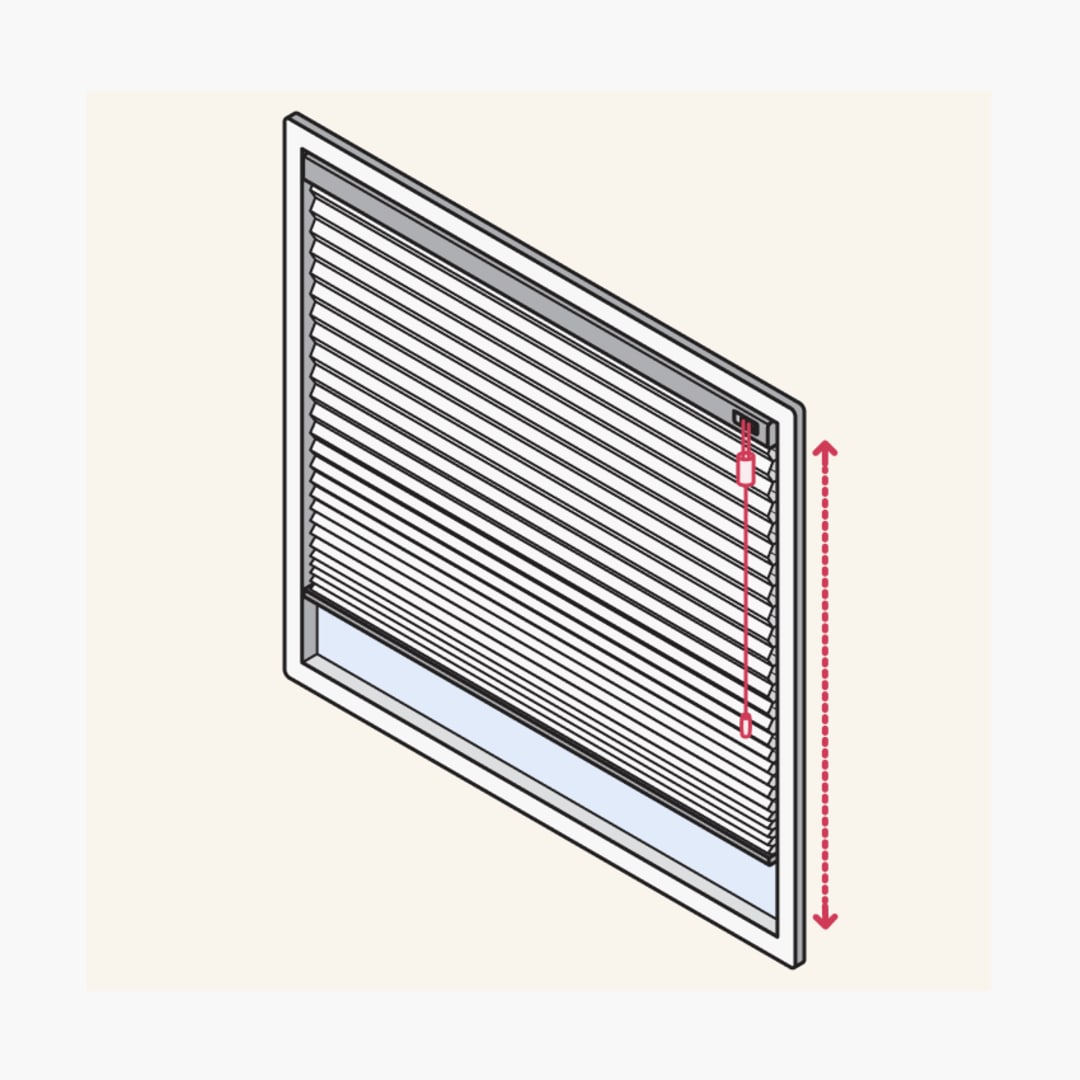
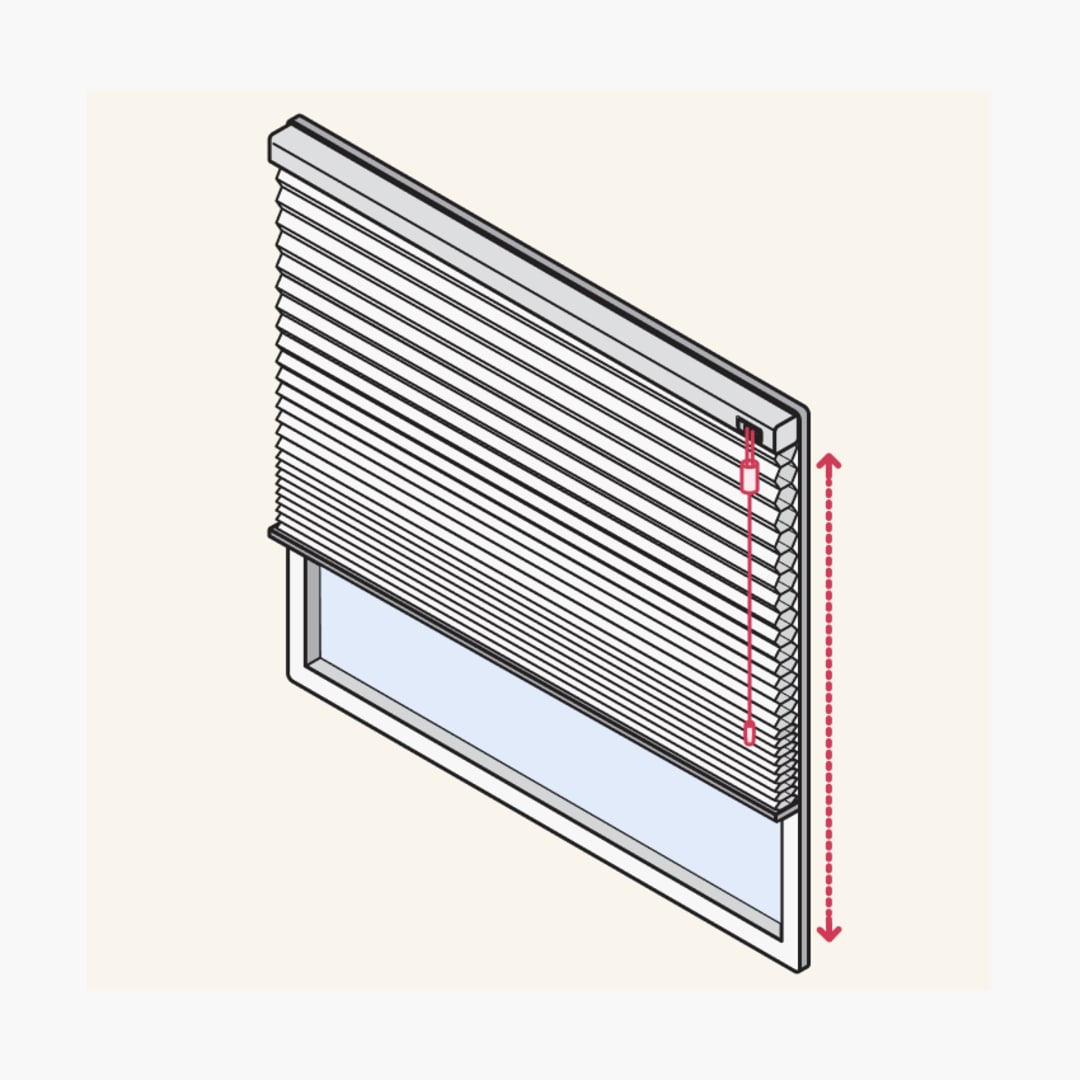
Make a note of which side you'd like your chain to be on. Think about which side is easiest to reach, obstruction free and where the chain will be least visible.

Top Down Bottom Up:

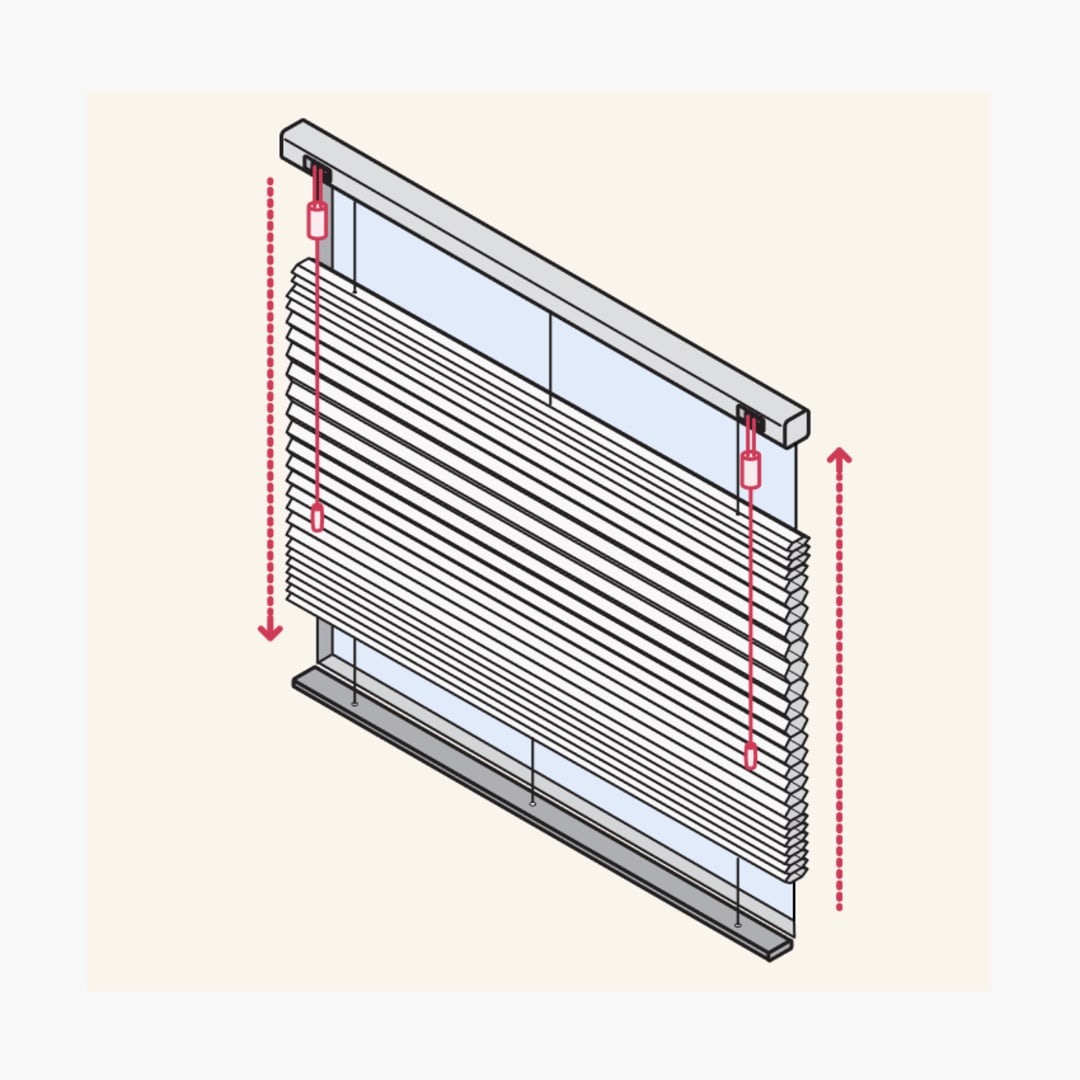
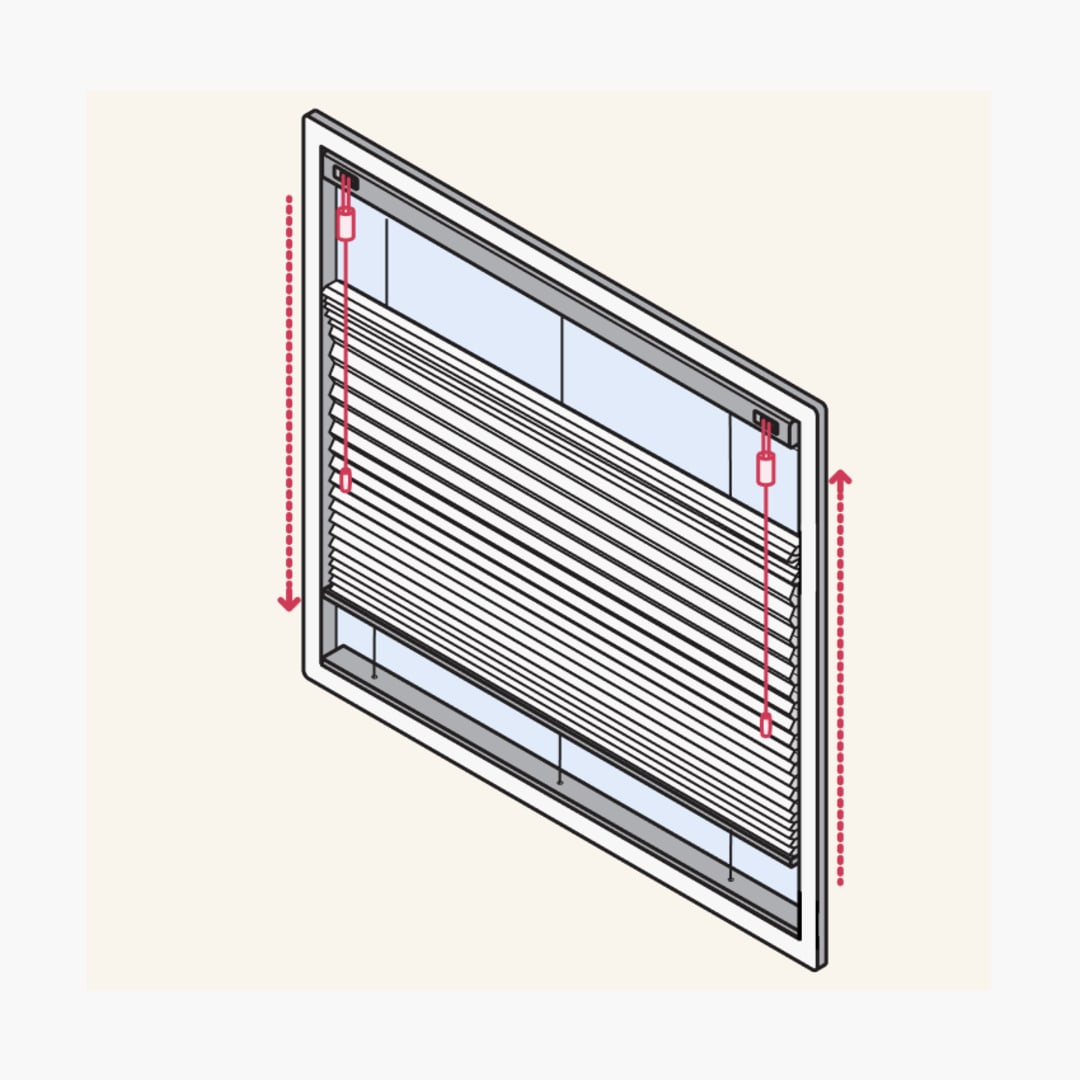
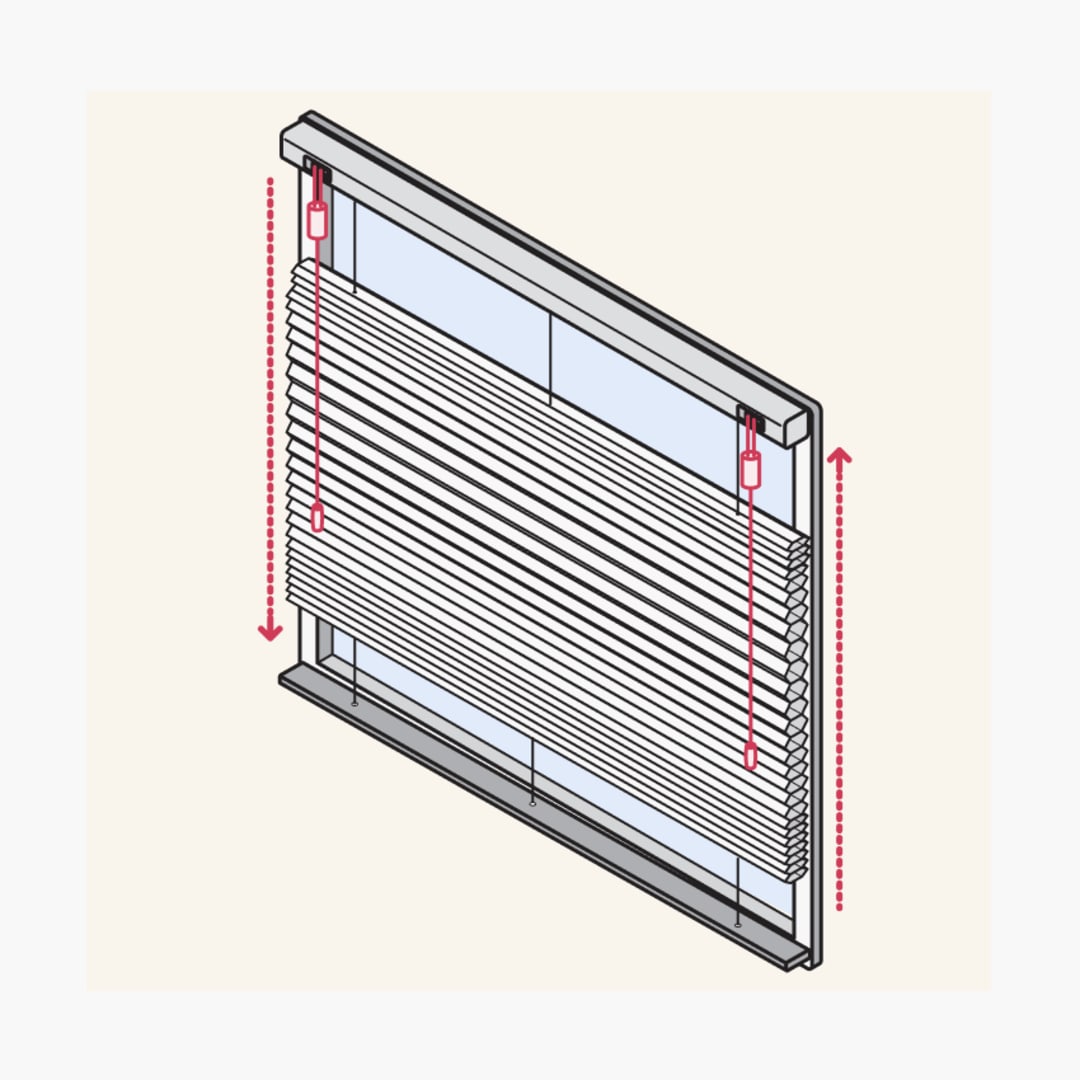
Please note that the Top-Down/Bottom-Up control type includes controls on both sides and cannot be changed to operate from just one side.
B

Standard Bottom Up:

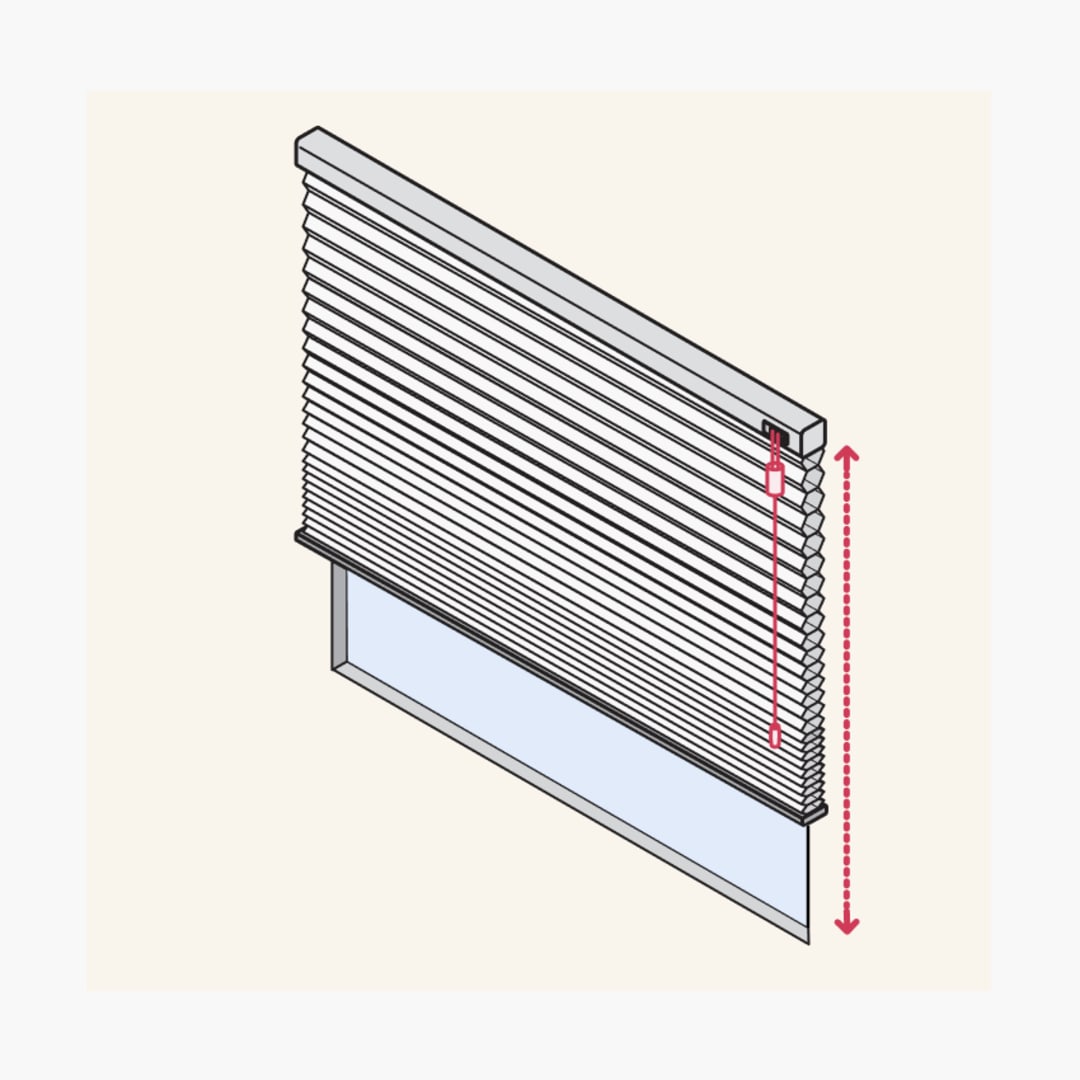
On a standard bottom up blind, the cord is used to raise and lower the blind.
C

Top Down Bottom Up:

Please note that the Top-Down/Bottom-Up control type features controls on both sides. The right-hand control raises the blind, while the left-hand control lowers it. This is the default configuration and cannot be changed.
4
Order your custom blinds online

You're all set to order your blinds!

Design & Order
1
Measure your width

Measure the exact outside width straight across the window frame in three positions: across the top, middle, and bottom. This helps account for any irregularities.

Once measured, add at least 50mm to your largest measurement to determine your fabric-to-fabric width. This additional width helps reduce light seepage from the sides.

If your window is hard against an immovable object (such as a wall, cabinet, or another fixture) and there isn’t space to add the extra 50mm, do not include it in your measurement.

If the blind will be installed between two walls or fitted tightly within a space, please refer to our recess fit measuring guide to ensure you are measuring correctly for the available space.

2
Measure your drop

Measure the height of the window from the top down to where you’d like your blind to finish, taking measurements in three positions (left, centre, and right).

This helps account for any irregularities. The blind may finish at the bottom of the window, just above the floor, or aligned with other blinds in the room.

Once you have your desired drop, add at least 50mm to the top and 50mm to the bottom to help reduce light seepage.

Example: If your desired drop measures 1200mm, add 50mm to the top and 50mm to the bottom. You would then record 1300mm as your final drop measurement.

3
Choose your chain side
A

Standard Bottom Up:

Make a note of which side you'd like your chain to be on. Think about which side is easiest to reach, obstruction free and where the chain will be least visible.

Top Down Bottom Up:

Please note that the Top-Down/Bottom-Up control type includes controls on both sides and cannot be changed to operate from just one side.

B

Standard Bottom Up:

On a standard bottom up blind, the cord is used to raise and lower the blind.

C

Top Down Bottom Up:

Please note that the Top-Down/Bottom-Up control type features controls on both sides. The right-hand control raises the blind, while the left-hand control lowers it. This is the default configuration and cannot be changed.
4
Order your custom blinds online

You're all set to order your blinds!

Design & Order
1
Check your depth

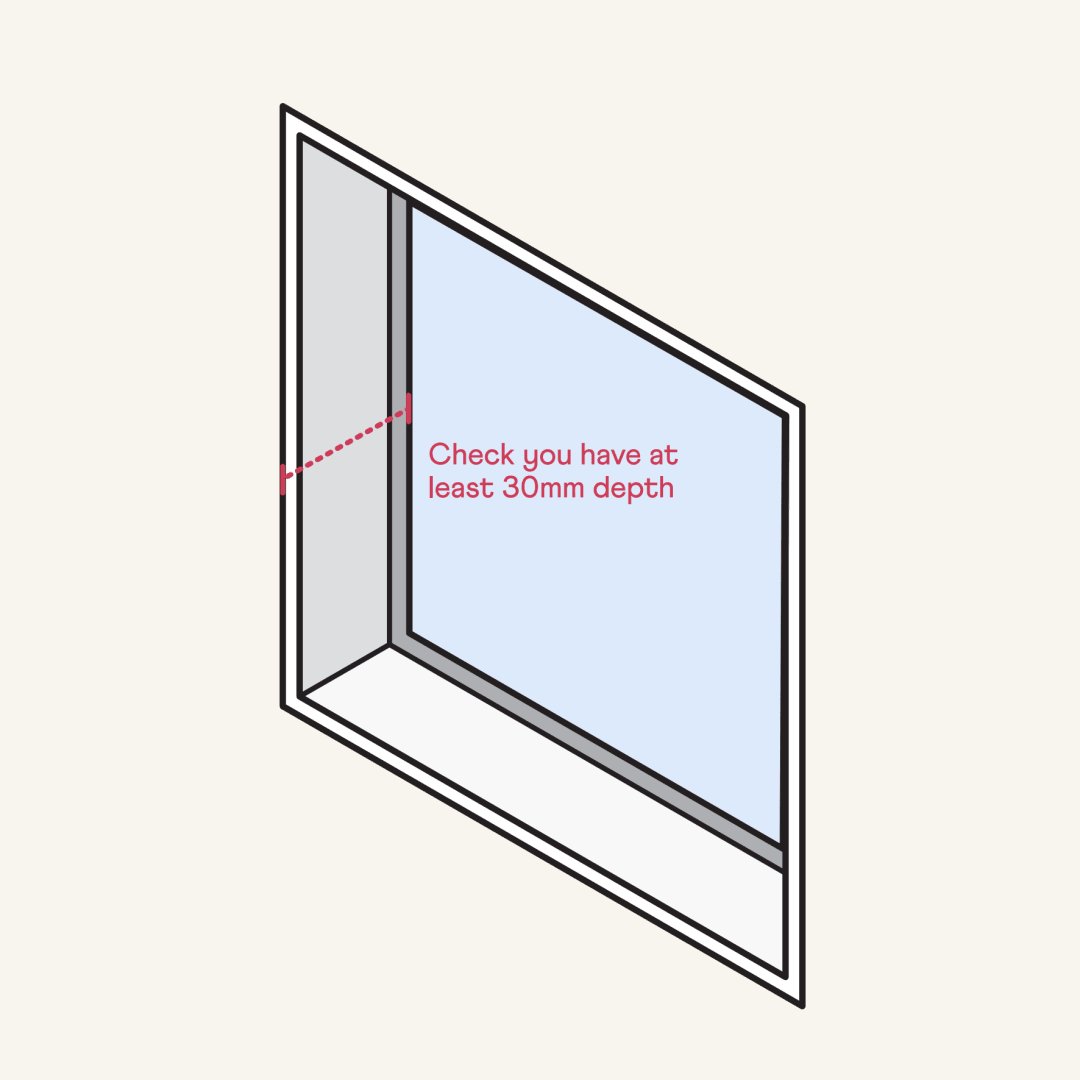
With your measuring tape, ensure there’s at least a 30mm depth between the window pane and front edge of your window frame.

If you have less than 30mm depth within your recess, we'd recommend a face fit mounted honeycomb blind instead.

2
Measure your width

Measure the height of the window from the top down to where you’d like your blind to finish, taking measurements in three positions (left, centre, and right).

Please note that the fabric sits in line with the base rail, ensuring there is only a minimal gap at the top and bottom when the blind is fully closed.

Once finished, record the smallest measurement.

3
Measure your drop

Measure the exact inside height of the window frame from top to bottom, and write it down. When your blind is rolled down, it will sit flush against the bottom of the frame.

Once finished, record the smallest measurement.

3
Choose your chain side
A

Standard Bottom Up:

Make a note of which side you'd like your chain to be on. Think about which side is easiest to reach, obstruction free and where the chain will be least visible.

Top Down Bottom Up:

Please note that the Top-Down/Bottom-Up control type includes controls on both sides and cannot be changed to operate from just one side.

B

Standard Bottom Up:

On a standard bottom up blind, the cord is used to raise and lower the blind.

C

Top Down Bottom Up:

Please note that the Top-Down/Bottom-Up control type features controls on both sides. The right-hand control raises the blind, while the left-hand control lowers it. This is the default configuration and cannot be changed.
5
Order your custom blinds online

You're all set to order your blinds!

Design & Order
We’re here to help with any questions
Support

We’re here to help with any questions

Whether you're midway through installing your blinds or just getting started, our team is here to help. From measuring guides to installation tips, we’ve got answers to make things simple and stress-free. Contact us on 1300 918 390 (AEDT).